Home - Gallery - Contact - My
Origami
- Videos -
Privacy Policy
Origami Blueberry Plant
This is a step-by-step photo tutorial for making a paper
blueberry plant with thick
bunches of berries.


Step 1:
Mountain-fold
over this line,
then turn the paper.


Step 6:
And
fold/push the final piece downwards
Step 5:
Press
this spot inwards
Step 2:
Roll
up the paper
Step 4:
Push/press
this spot inwards.

Step 3:
I
have one finger sticked in the model here,
you can also stick a pencil in the model to
make the next steps easier.
Press/push the spot indicated by the arrow
inwards.

Step 10:
Valley-fold
in half one more time.


Step 8:
Press
the green part flat between your
fingers by making a mountain-fold over
these 2 lines.
Step 9:
Valley-fold
the green part in half.
Step 7:
Now
the model looks like this,
turn the model
You
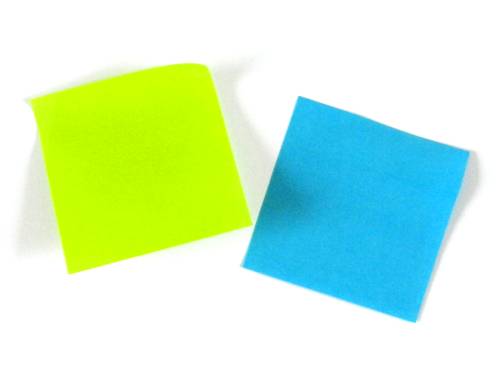
can also use a green and
a blue Sticky Note paper
sticked together to fold a berry

Step 16:
Valley-fold
over these 2 lines.
Step 15:
This
paper is for the leaves.
Valley-fold over these 2 lines.
Step 12:
One
berry is done....
Step 11:
Press/push
the edges of the blue part
inwards with a finger, see arrows as
example.
Finally curl/bend the green part a little.
Step 14:
Glue
a few berries together and glue this
bunch to a stem, see arrow


Step 13:
I
made about 50 berries for one completed
plant.


Step 21:
Press
the tip of the leaf flat between your
fingers, see pink arrows.
Step 19:
Pull
the corner to the left by making
a valley-fold over the line on the left and
a mountain-fold over the line on the right.
Step 20:
Repeat
step 19 three more times.
Step 18:
Prefold
in half over this line.
Then turn the model.
Step 17:
Valley-fold
over these 2 lines.


Step 22:
I
made about 50 leaves for one completed
plant.
Step 25:
I
made 3 long stems and placed them in a
pot, then I glued a few shorter stems to
them, see next picture.
You can also tape the stems together,
instead of using glue.
I
used small paper balls for the
'Origami sand'.

Step 24:
Insert
a metal/florist wire in the stem.
Then fold it in half over the length one
more time.
Bend/curve the stem on a few spots,
see next picture as guidance.
Step 23:
Use
long rectangular papers for the stems.
Valley-fold over these 2 lines.


This
is a DIY video tutorial for making the paper Blueberry plant with
Berries:


