Home - Gallery
- Contact - My Origami - Videos -
Privacy Policy
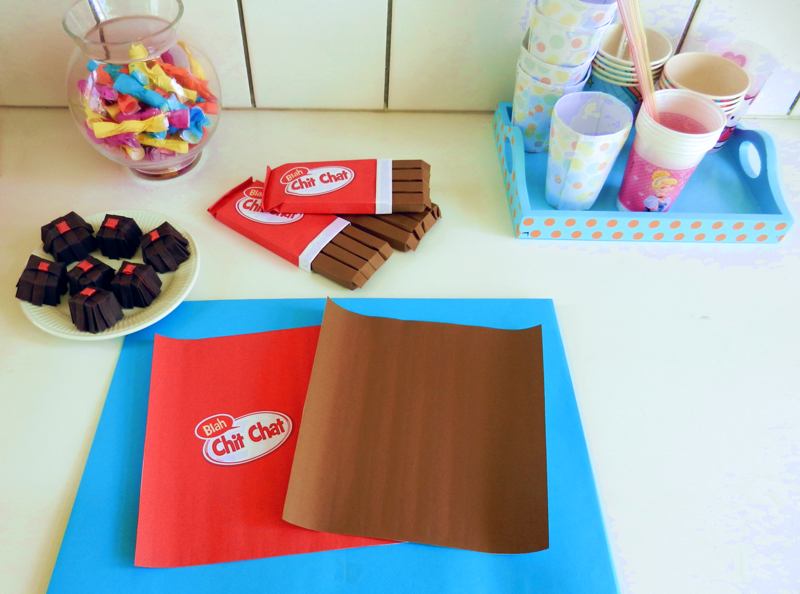
Origami CHOCOLATE BAR
This
is how to make a tasty looking paper chocolate bar with
wrapping.


Step 1:
Both papers are about 20x20 centimeters and white on the backside.
Prefold in half


Step 6:
Fold the edges to the centerline.
Step 5:
Prefold in half.
Step 2:
Prefold the edges to the centerline
Step 4:
Prefold the brown parts in half

Step 3:
Fold to the prefolded lines, see arrows

Step 10:
Repeat step 9 two more times.


Step 8:
Fold to the centerline one more time.
Then unfold the folds of steps 6 to 8
Step 9:
Fold these two edges towards each other
Step 7:
Fold the edges to the centerline.

Step 16:
Fold into a straight angle.
Step 15:
Repeat steps 12 to 14 on the left.
Step 12:
Fold this edge upwards over the prefolded line
Step 11:
Prefold these lines into the right direction (=mountain-folds).
Then turn the model.
Step 14:
Fold the other edges upwards too.


Step 13:
Fold this edge upwards.


Step 21:
Fold the edge downwards over the prefolded lines.
Step 19:
Pull the edges open, see arrows as example.
Step 20:
Turn the model again.
Step 18:
Turn the model.
Step 17:
Fold into a straight angle.
Repeat steps 16 and 17 on the other side, see arrow.


Step 22:
Slide / press the lower edge into the openings indicated by the arrows.
Step 25:
Fold over these three lines, start with the line on the right.
Step 26:
The white edge you created in step 25 is on the left in this picture.
Fold the red paper around the bar.

Step 24:
Done.....
Step 23:
Making sharp folding lines on the outside of the model keeps the model into the right shape.
Turn the model again.


Step 27:
Press flat and make about three valley-folds, start with the one on the right.
These folds hold the wrapping around the chocolate bar.
DONE!
Getting hungry!
This is a DIY video for folding the choclate bar with wrapping:


