Home - Gallery
- Contact - My Origami - Videos -
Privacy Policy
Origami ENGLISH CANDY
This
is a step by step tutorial for making colorful paper English candies.

Step 1:
The candies are made in three different shapes and out of 10x10
centimeter papers in 6 different colors with a black backside.
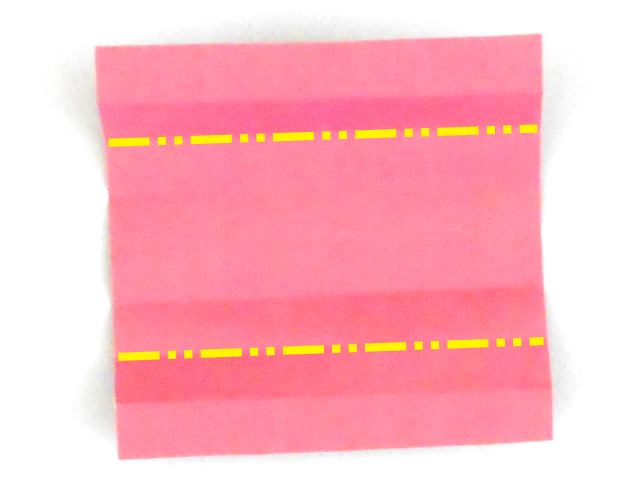
Prefold a yellow paper over these two lines.


Step 6:
Prefold over these two lines
Step 5:
Fold the edges a little off the centerline.
Step 2:
Fold the edges to the centerline.
Step 4:
Repeat steps 2 and 3 in the other direction.

Step 3:
Fold the edges to the centerline, then unfold the model.

Step 10:
Use glue to close the top


Step 8:
Fold the upper edge downwards
Step 9:
Fold the upper edge downwards on two more spots.
Step 7:
Make sharper folding lines
This picture shows all three
different shapes of the candies

Step 16:
Both models are folded the same from this step.
Prefold over the two yellow lines.
Step 15:
If you do this instead of step 14, you'll get a round candy without a black center.
Step 12:
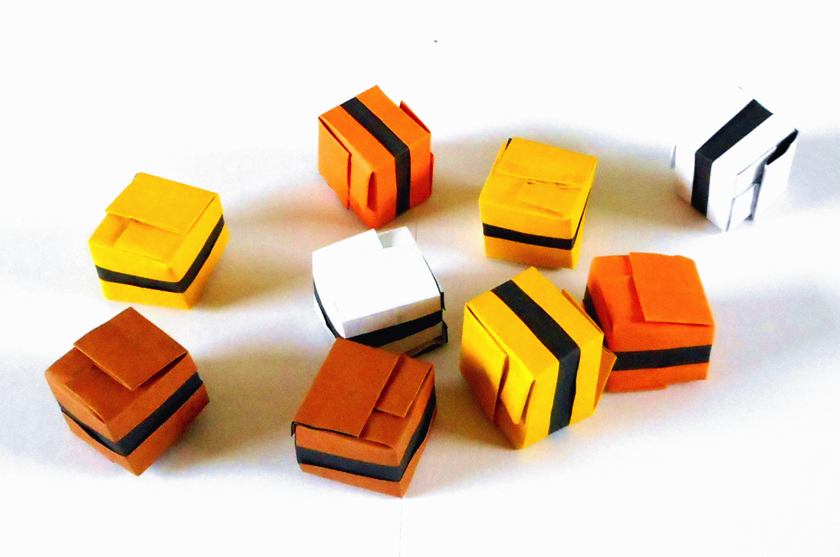
Done, this is the first shape.
This shape can be made in any color, except blue.
Step 11:
Repeat steps 8 to 10 on the bottom.
Step 14:
Fold over the two outer lines first.


Step 13:
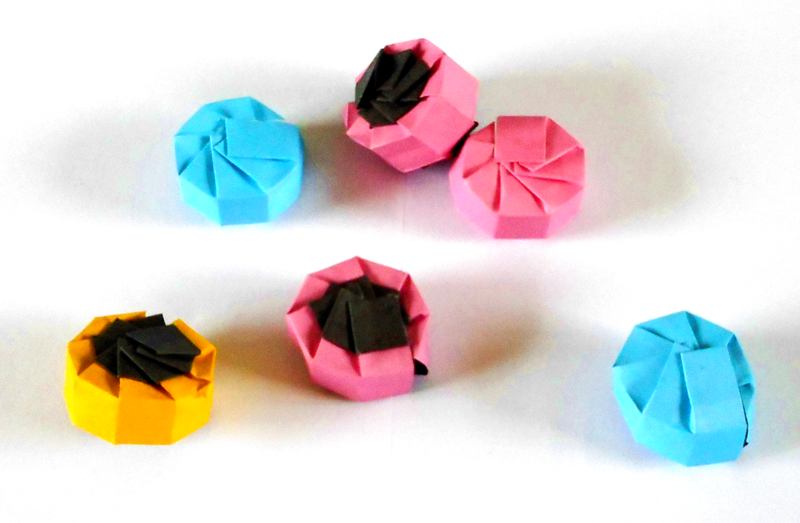
Take a pink, blue or yellow paper for the second shape.
Repeat steps 1 to 4


Step 21:
Use glue to close the top.
Repeat steps 18 and 19 on the bottom.
Step 19:
Fold the edge downwards on 6 more places.
Step 20:
Glue both edges together.
Step 18:
Fold the edge downwards.
Step 17:
Make sharper folding lines.


Step 22:
Done, so this shape is made in two versions.
Step 28:
Fold over the prefolded lines
Step 25:
Prefold both halfs in three parts of the same size.
Step 26:
Here one fold of step 25 is done. Both parts have the same width, see pink bar.


Step 24:
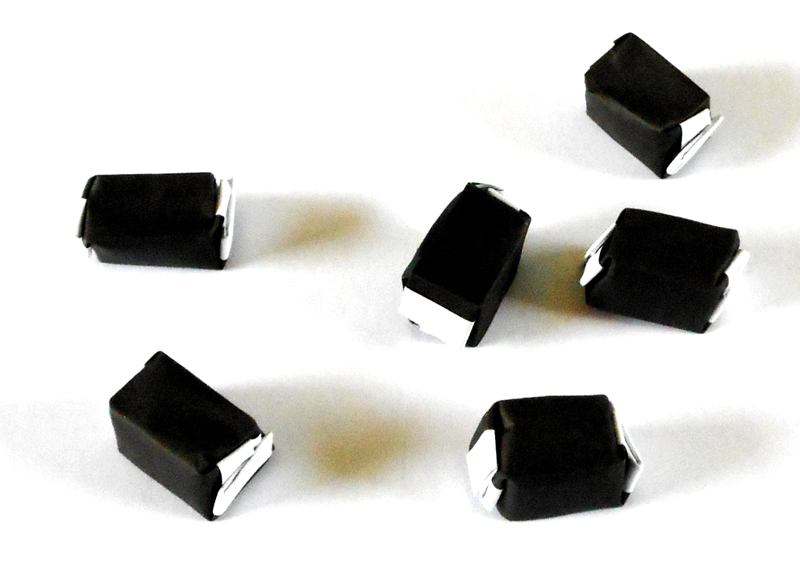
The third shape is made of a white and black paper.
Step 23:
The picture below shows in which colors this round shape is made.


Step 29:
Fold over this prefolded line.
Step 27:
Repeat steps 25 and 26 in the other direction.
Oké,
getting hungry now!

Step 30:
Fold the white parts in half.
Step 31:
Prefold over these two lines.
Step 32:
Make sharper folding lines.

Step 33:
Fold the upper edge downwards.
Step 35:
Repeat steps 33 and 34 on the bottom.
Use glue to close the model.

Step 34:
Fold downwards on two more spots.


Step 36:
And the third shape is done....


Pictures:
English candies, just
for the taking!


