Home
- Gallery
- Contact
- My Origami
- Videos -
Privacy Policy
Make an ORIGAMI MILKSHAKE
This is how to fold a 3d Origami Milkshake in a pink
cup, out of just one paper!

Step 1:
This
pink folding paper is about 20x30 centimeters and white on the
backside. Fold over the yellow line.


Step 6:
Fold
the edges to the centerline.
Step 5:
Prefold
in half.
Step 2:
Fold
over the left line first.
Step 4:
Prefold
over both lines.

Step 3:
Fold
over this line

Step 10:
Fold
over the yellow line and press the three edges to the right, use
tape or glue.


Step 8:
Prefold
these lines into the right directions
Step 9:
Fold
the three edges upwards, use the prefolded lines as guidance.
Step 7:
Fold
the edges to the centerline.
Then unfold the folds of steps 6 and 7
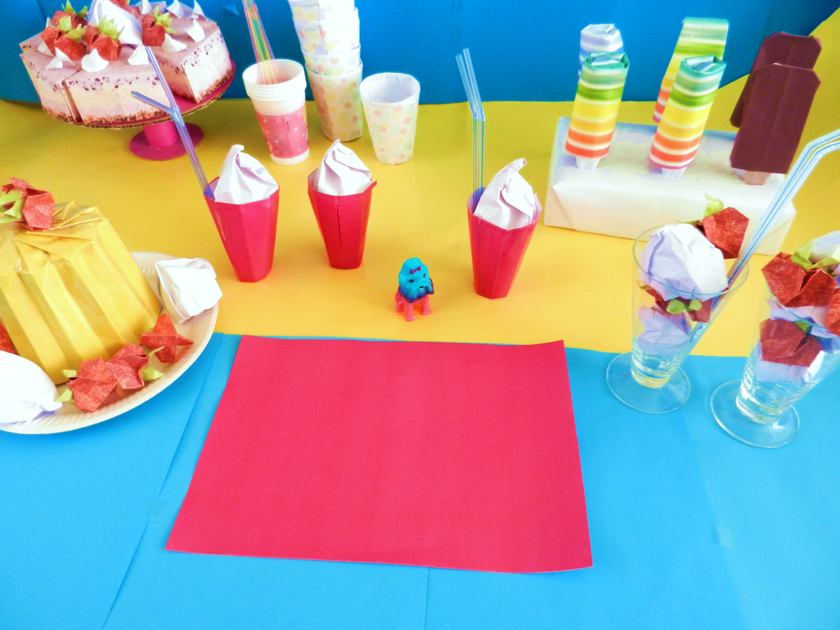
Origami milkshakes in a pink cup

Step 16:
All
folding lines are prefolded in step 12
Step 15:
Press
the edge downwards over the prefolded lines.
Step 12:
(Pre)Fold
all eight parts downwards, see arrow as example.
Step 11:
Turn
the model.
Step 14:
Glue
both edges together, see arrow


Step 13:
This
is how the prefolded bottom of the cup should look now.


Step 19:
Press
/ fold the edge downwards on two more spots, see arrows as example.
Step 20:
Valley-fold
over the two short yellow lines and bend / curve the top downwards.
Step 18:
Press
/ fold this spot downwards.
Step 17:
This
is how the bottom of the cup should look.


Finally,
pull
the upper edge of the cup outwards.
DONE!


Having a large cold milkshake in a restaurant


