Home - Gallery
- Contact - My Origami - Videos -
Privacy Policy
Origami MILKSHAKE CUP
This
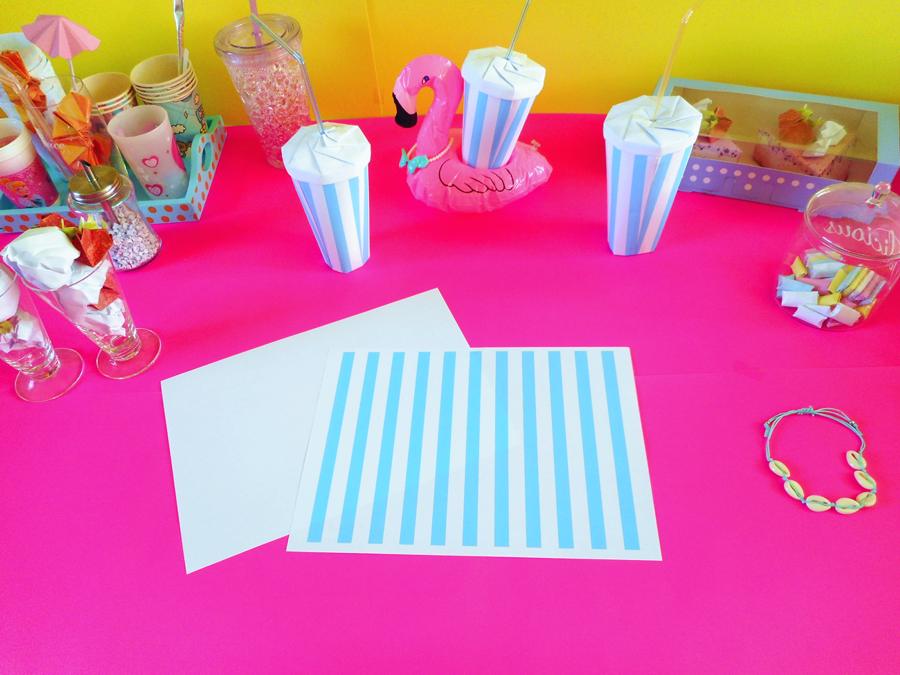
is how to make a large paper milkshake cup (the straws are real).


Step 1:
Both papers are about 20x30 centimeters, the lid paper is cut or folded in half


Step 6:
Fold the white part in half two times
Step 5:
Fold over this line.
Step 2:
This folding line is 3 centimeters off the edge.
Step 4:
Prefold, this folding line is 3 centimeters off the edge.

Step 3:
Prefold in half, then prefold both edges to the centerline.

Step 10:
Make 4 extra prefolded lines in the middle of the 4 edges


Step 8:
This is the other side of the model.
Fold the four (prefolded) edges to the right and fold over the line on the right.
Use glue or tape.
Step 9:
Glue / tape both edges together, see yellow lines.
Step 7:
Prefold just below the white edge.
Flamingo floatie with large milkshake

Step 16:
The cup is done....
Step 15:
This is how the bottom of the cup looks.
Step 12:
Fold the edge downwards on 7 more spots, use the prefolded lines as guidance.
Step 11:
Fold this spot downwards, see arrow.
Step 14:
Make a sharp folding line on the edge.


Step 13:
Press inwards


Step 21:
Fold the edge in half two times.
Step 19:
Prefold in the middle of the prefolded lines.
Step 20:
Fold over this line.
Step 18:
Prefold in half, then prefold both edges to the centerline.
Step 17:
Fold the lid paper into the same length as the upper edge of the cup.


Step 22:
Prefold over the lower line and fold over the upper line.
Step 28:
Use a pencil to make the opening in the center wide enough for a straw.
Step 25:
Fold the edge downwards on 7 more spots, use the prefolded lines as guidance.
Step 26:
Press flat on a table or between your fingers.

Step 24:
Fold the edge downwards on this spot.
Step 23:
Glue / tape both edges together


Origami
strawberry milkshakes, pink plastic milkshake cup, Origami milkshake
cups and a Flamingo
floatie with milkshake cup
Step 27:
Use glue or tape if necessary.
The
inner edge of the lid fits around the edge of the cup.....
DONE!


