Home
- Gallery
- Contact
- My Origami
- Videos -
Privacy Policy
Origami PEELED BANANA
This is a tutorial for folding a realistic looking and funky Origami
Banana


Step 1:
I
glued four standard size papers together into one large folding
paper.
Prefold in half over the four purple lines.


Step 6:
Fold
over the purple line
Step 5:
Prefold
over these two lines
Step 2:
Fold
over the two lines at the bottom right, then over the two diagonal
lines. And then over the two lines at the top left.
Step 4:
Squash-fold.

Step 3:
Fold
one flap straight upwards.

Step 10:
Fold
the edge in half over the purple line.


Step 8:
Fold
the little triangle upwards.
Repeat steps 4 to 8 on the other three flaps.
Step 9:
Pull
open
Step 7:
Press
the edges downwards.

Step 16:
Glue
these two parts together, see arrow.
Step 15:
Pull
/ curve both flaps downwards, see arrows as example.
Step 12:
Bookfold
to the left over this line, do the same on the backside.
Step 11:
Close
the model again.
Repeat steps 9 to 11 on the other three same places of the
model, see small arrows.
Step 14:
Press
inwards from aside.


Step 13:
Fold
the two front edges over the two edges on the back, use glue if
necessary.


Step 17:
Fold
over the two (very) short purple lines and bend / curve the bottom
of the banana.
Done.
Looking
good!
Banana
Party
Pictures:
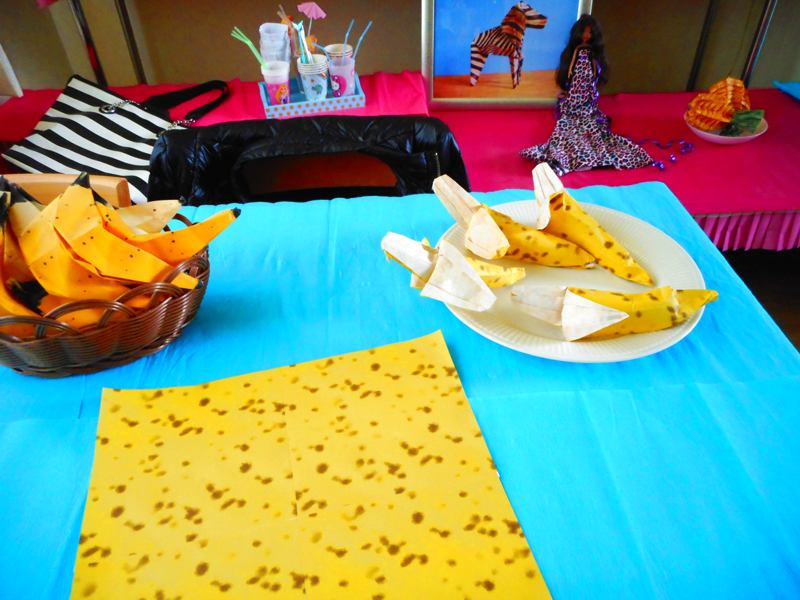
Funky party with Banana's for the taking :)


This is a video tutorial
for folding the Banana:

