Home - Gallery
- Contact - My upper floor - Videos -
Privacy Policy
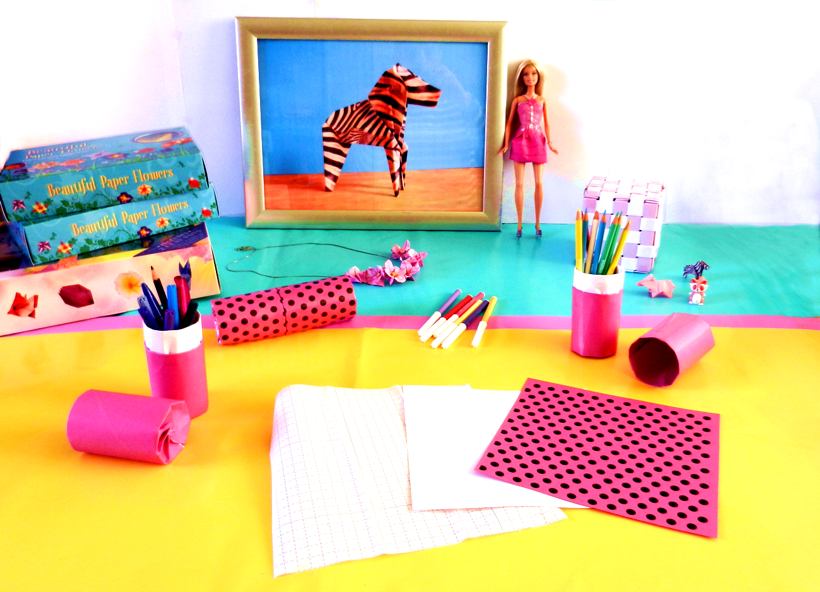
Origami round
Pencil Box
This
is an easy way to make a useful and beautiful paper pencil box


Step 1:
The
Origami papers are made of a white and a pink paper taped together with
transparant wrapping paper.

Step 2:
Prefold
in half


Step 6:
Tape
/ glue both ends together
Step 5:
Valley-fold
the upper edge under the edge indicated by the arrows.
Two
of these self made papers are used for each pencil box.
Valley-fold over the blue line.
Step 4:
Mountain-fold.

Step 3:
Fold
over these two lines, the valley-fold is already prefolded.
Then unfold the fold of step 1 and turn the model.

Step 10:
This
is how the bottom looks.


Step 8:
Fold/press
the edge downwards on this spot.
Step 9:
Fold/press
the edge downwards on about five more spots.
Step 7:
Fold
the edge inwards, see arrow.
Then turn the model

Step 16:
Press
/ fold the edge downwards on about six more spots.
Step 15:
Press
/ fold this spot downwards
Step 12:
Prefold
over the blue line, then turn the paper.
Step 11:
One
part of the box is done.....
Step 14:
Tape
/ glue both ends together. Use the white edge of the box as guidance.


Step 13:
Fold
the edge to the prefolded line.


Step 17:
Slide
the lid around the white edge to close the pencil box.

Done!
Great!


This
video by Joost Langeveld also has instructions for making the pencil
box:


