 Home - Gallery - Contact - My
Origami
- Videos -
Privacy Policy
Home - Gallery - Contact - My
Origami
- Videos -
Privacy Policy
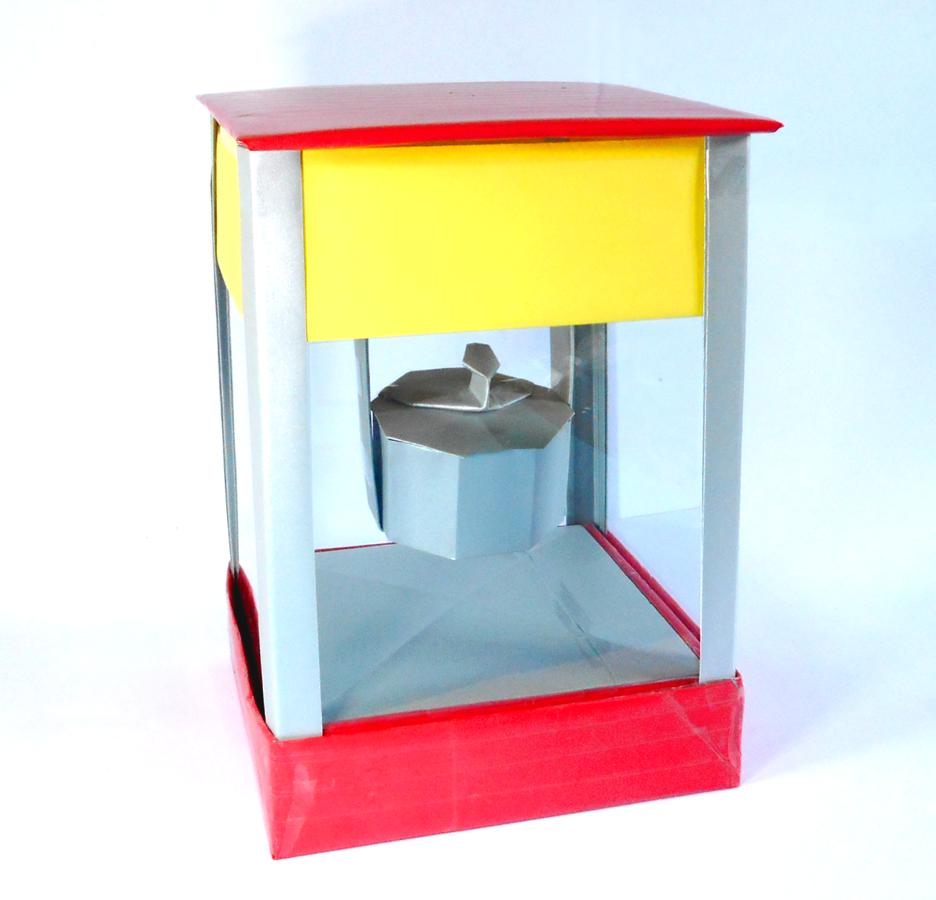
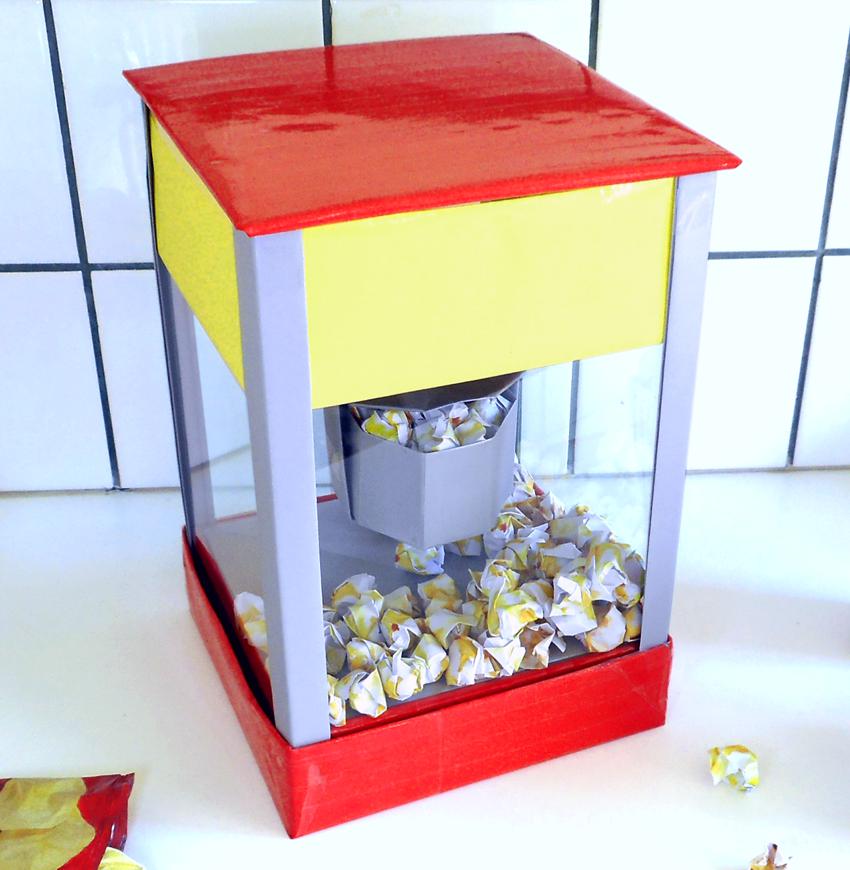
PAPER POPCORN MACHINE
This is a tutorial for making a paper Popcorn Machine
out of various easy to fold
Origami components. I used standard
printer- / copy papers of about 20x30 centimeters to create this
machine.
Click here to see instructions for
making the popcorn and popcorn cup
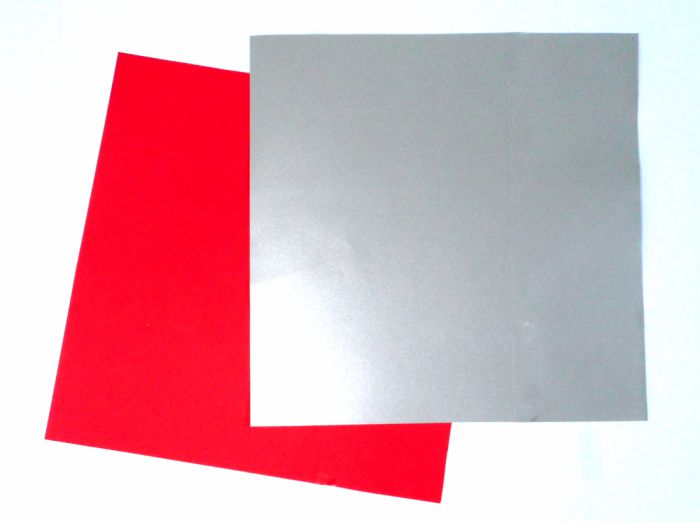
Step 1:
I
made these papers by glueing two standard printer / copy papers
together and cutting them into 30x30 cm papers.
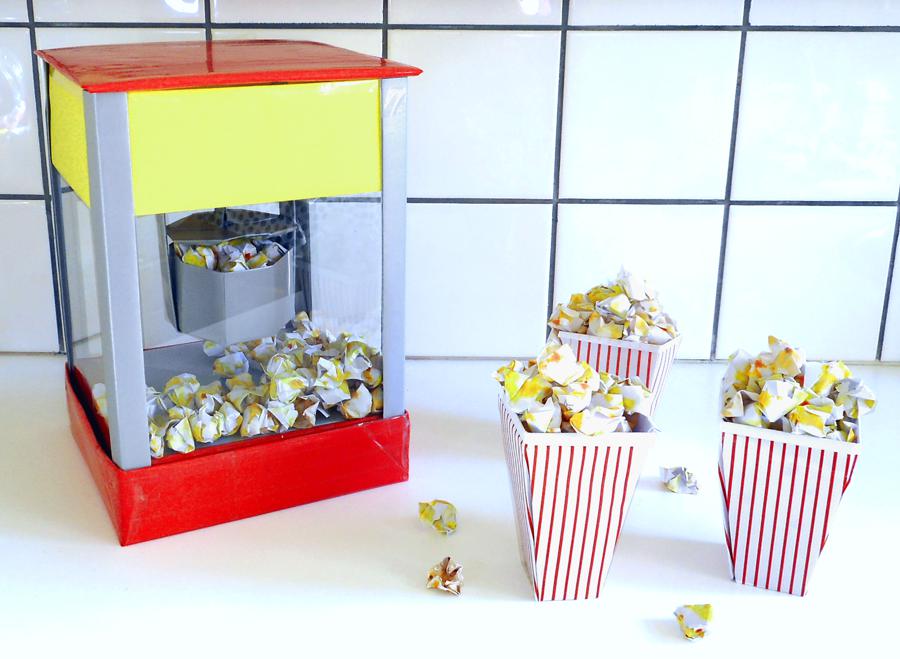
Origami Popcorn in popcorn cups and a paper
Popcorn Machine
Step 6:
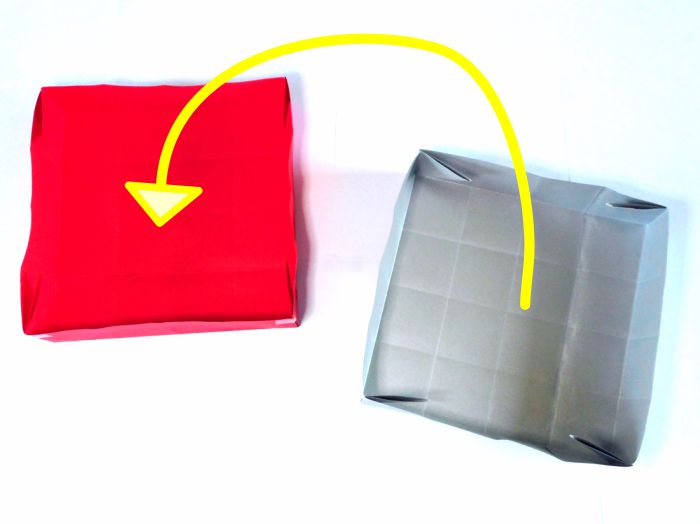
Insert
the silver colored box into the red box.
Step 5:
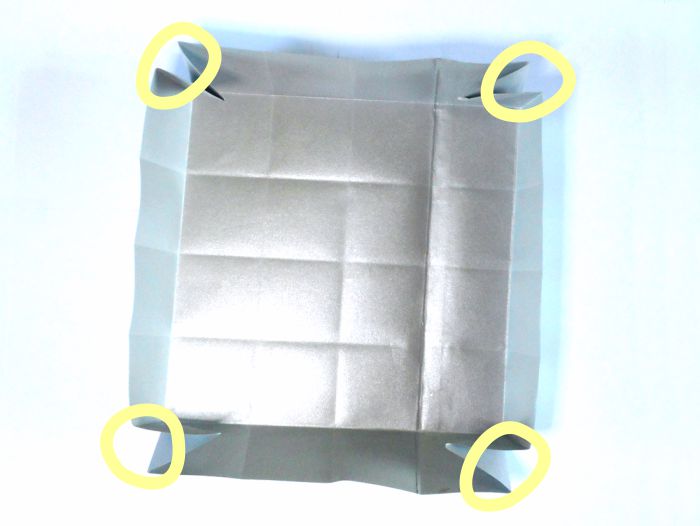
Use
glue or tape on the four corners.
Repeat steps 4 and 5 on the red paper.
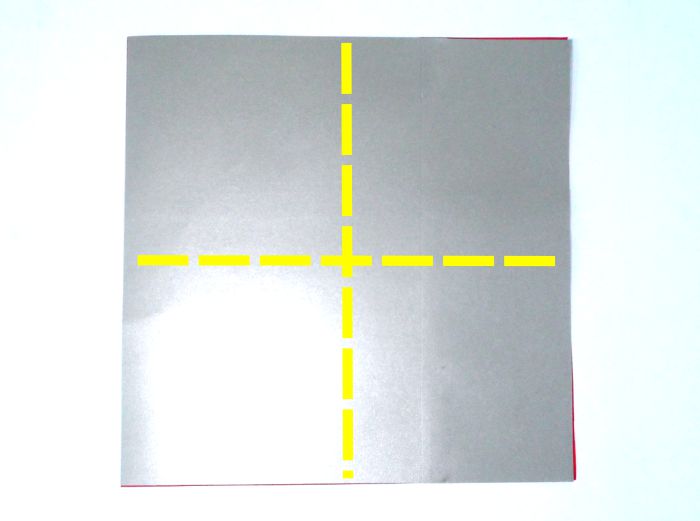
Step 2:
Lay
the silver colored paper on top of the red paper and prefold over
both papers in once.
This will make the silver square fit exactly into the red square box
later.
Step 4:
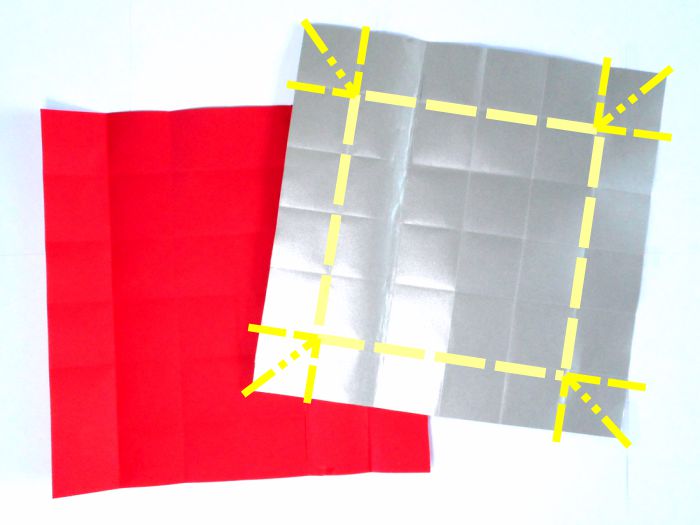
Now
both papers have the same prefolded pattern.
Fold the corners inwards and the edges straight upwards.
Step 3:
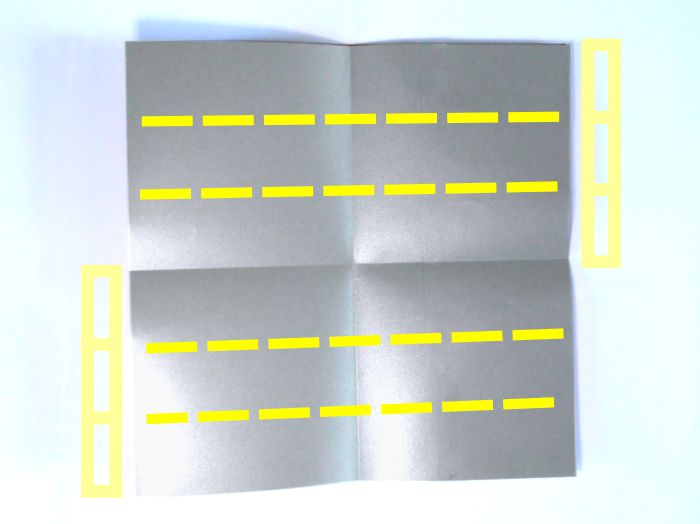
Prefold
both halfs into three parts of the same size.
Repeat in the other direction.
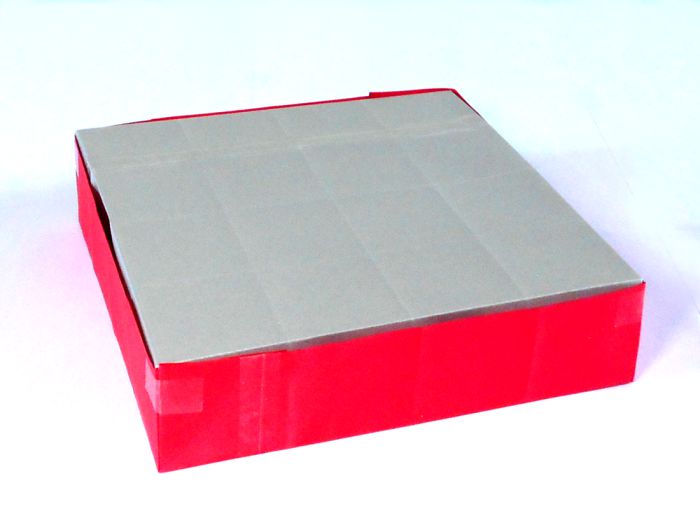
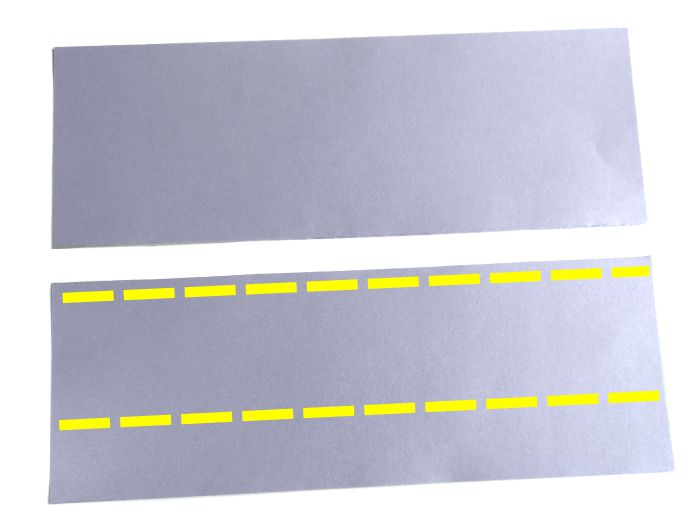
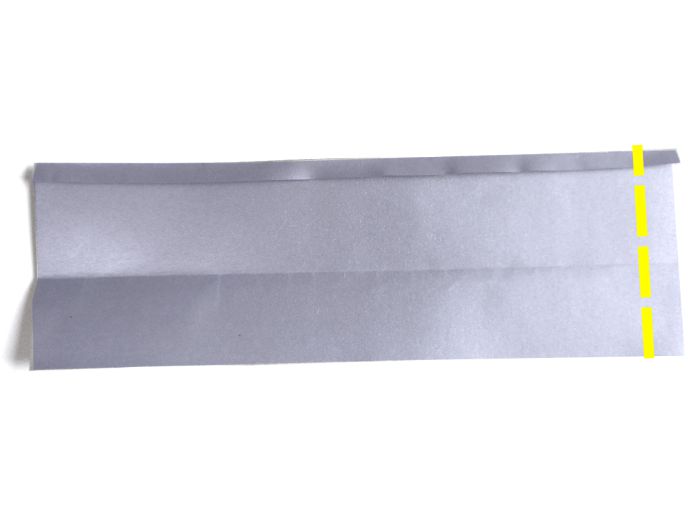
Step 10:
Fold
in half, into a straight angle
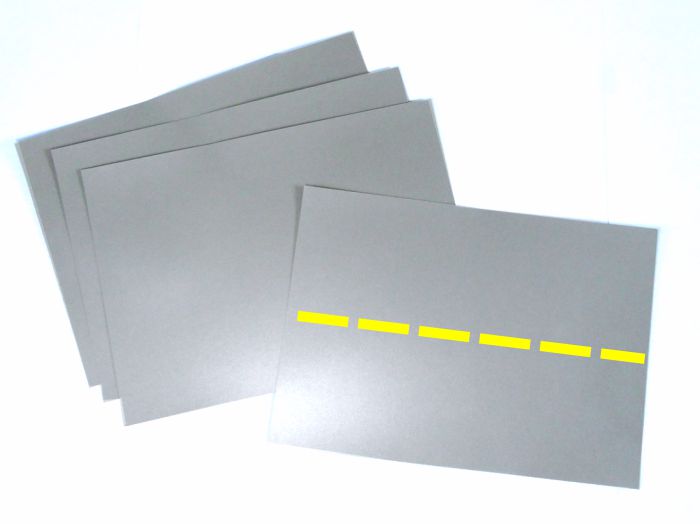
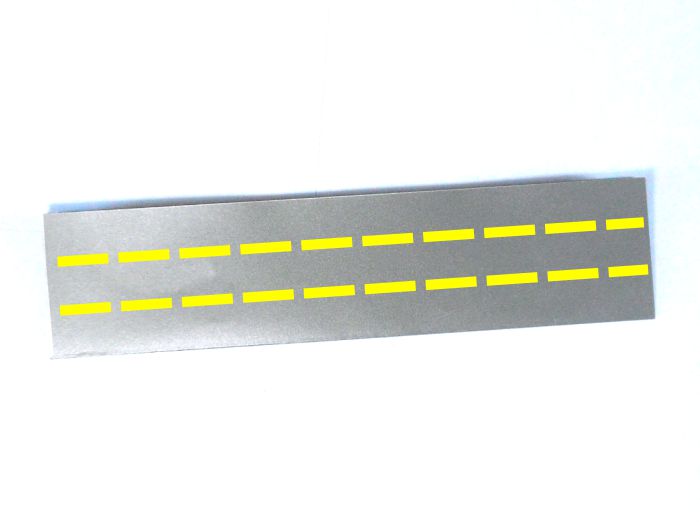
Step 8:
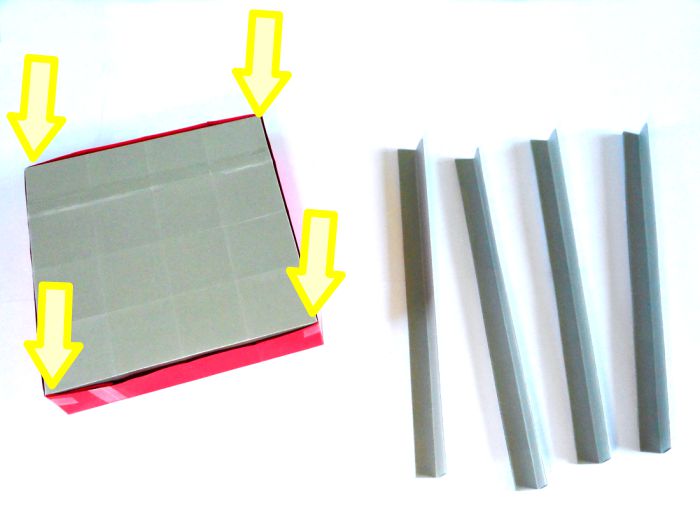
The
four sticks are folded out of a4-size silver colored papers.
Fold in half.
Step 9:
Fold
over these two lines.
Step 7:
The
base is ready now....
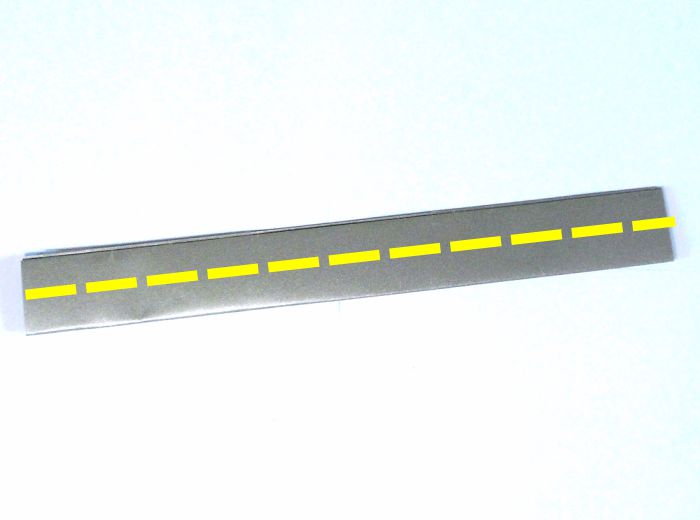
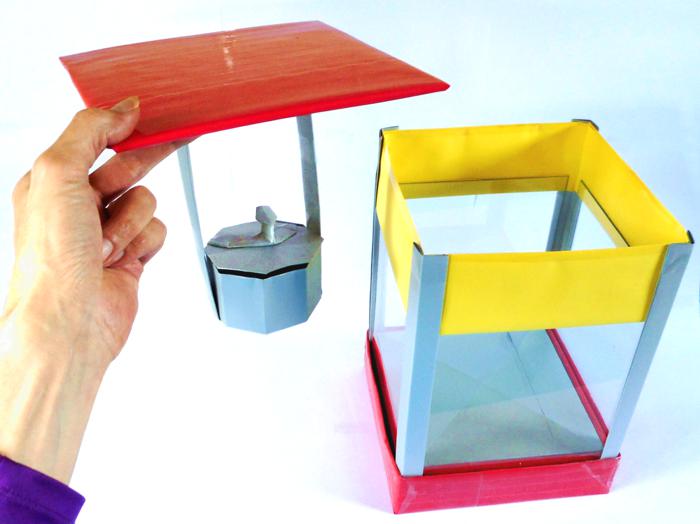
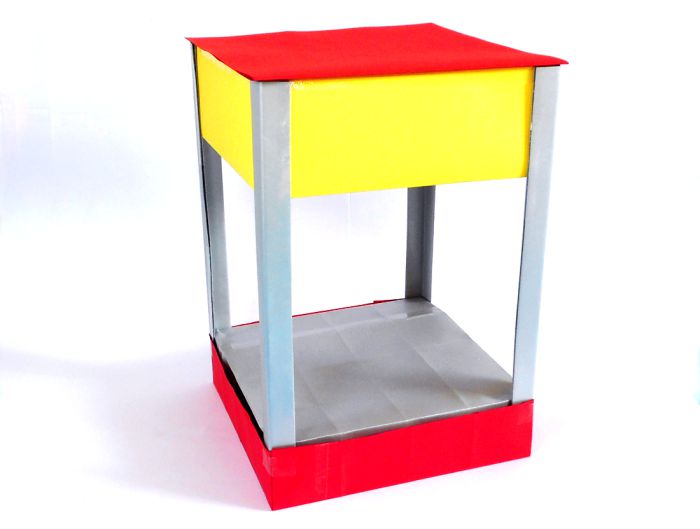
Step 16:
And
the lid is also ready, I actually made it stronger using a piece of
cardboard. I did the same with the base of the machine.
I slided four small glass pieces from old photo frames into the
base, which gives the model an extra realistic look.
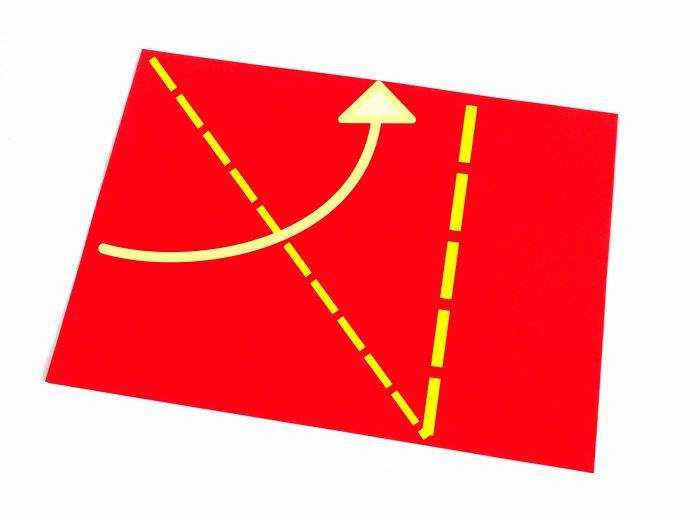
Step 15:
This
is an a4-size red paper. Prefold over the diagonal line, then fold
over the right line.
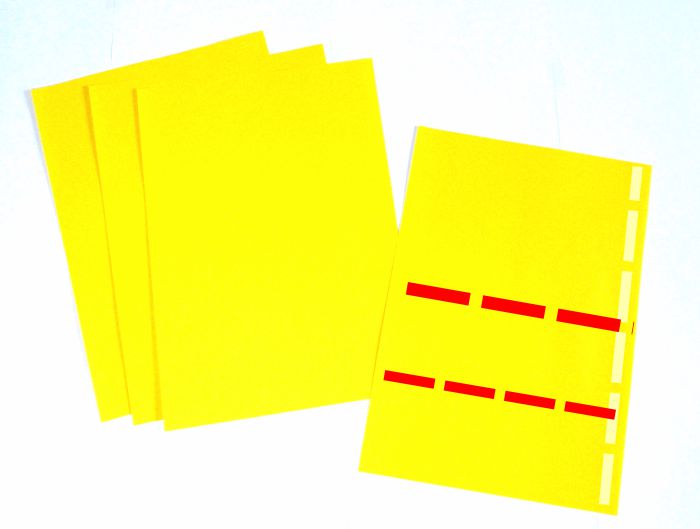
Step 12:
The
four yellow plates are also folded out of a4-size papers.
Fold the papers a little shorter over the light yellow line. Then
fold them in half two times.
Step 11:
Slide
the four sticks into the corners of the base
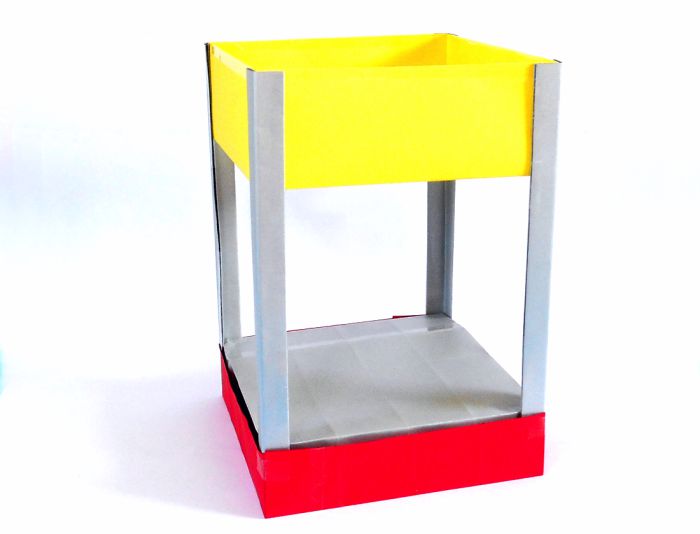
Step 14:
Done.....
Step 13:
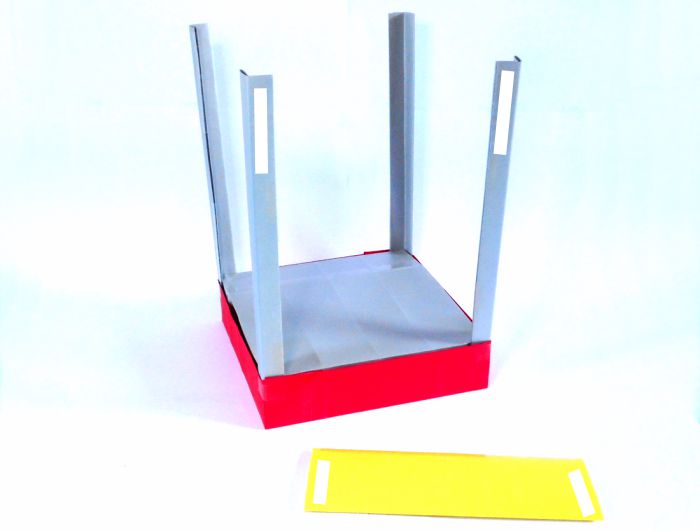
The
yellow plates are glued to the inside of the sticks, see white lines
as example.
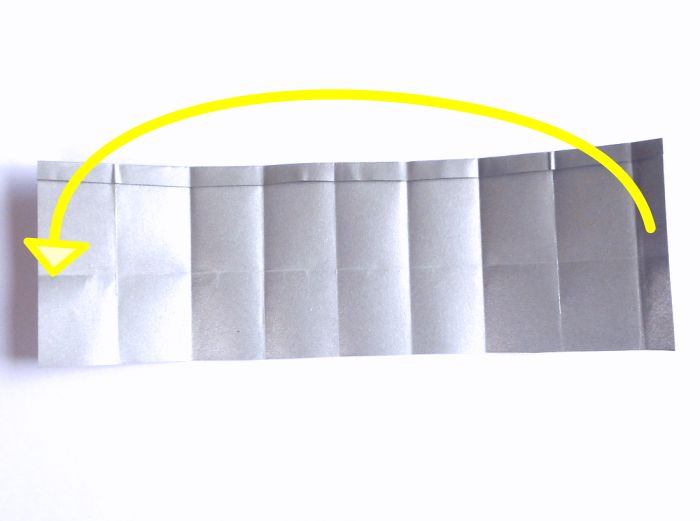
Step 21:
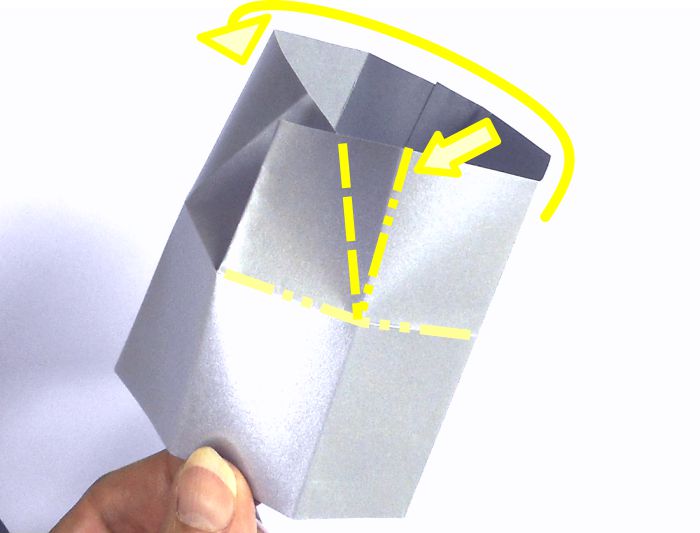
Prefold
all eight lines into the same direction.
Then glue the right end to the left edge, see arrow.
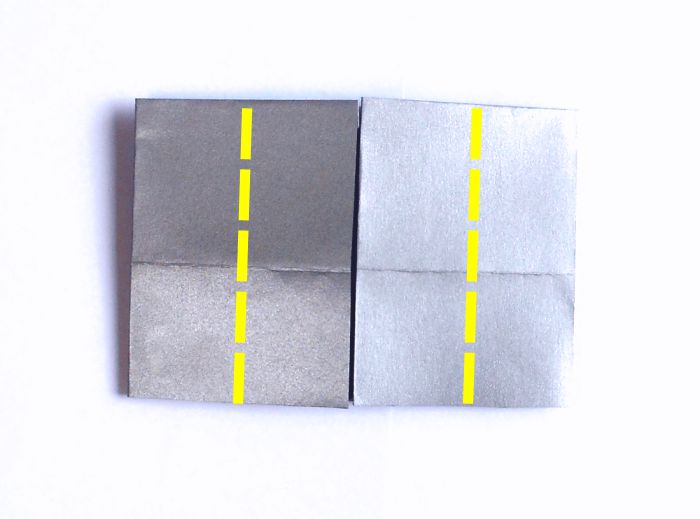
Step 19:
Prefold
in half, then fold both edges to this prefolded centerline.
Step 20:
Fold
both edges to the centerline and unfold the folds of step 18 to 20
afterwards.
Step 18:
Fold
over this line.
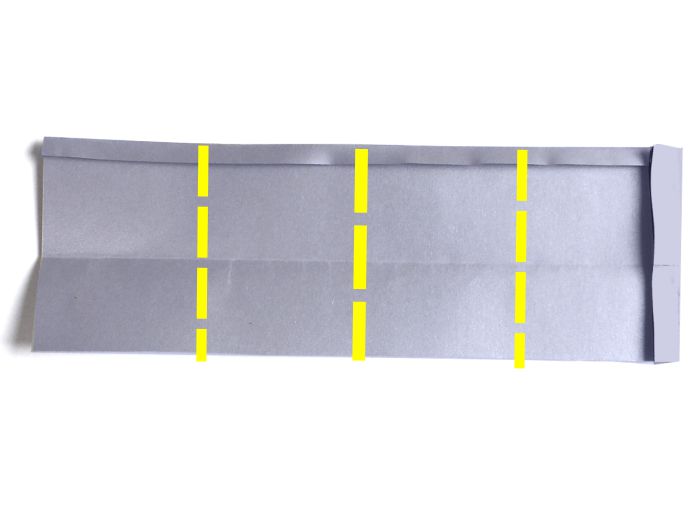
Step 17:
The
kettle with lid is made out of an a4-size paper prefolded and cut
into half.
Prefold over the lower line and fold over the upper line.
Step 22:
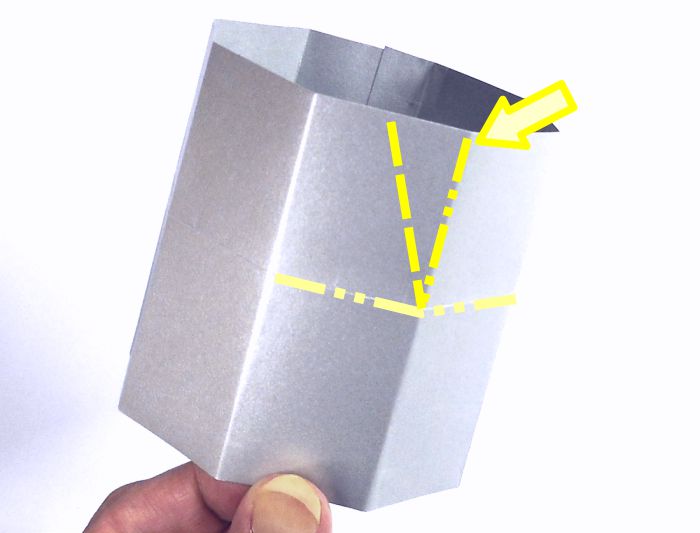
Fold
this spot downwards, use the prefolded lines as help.
Step 28:
Prefold
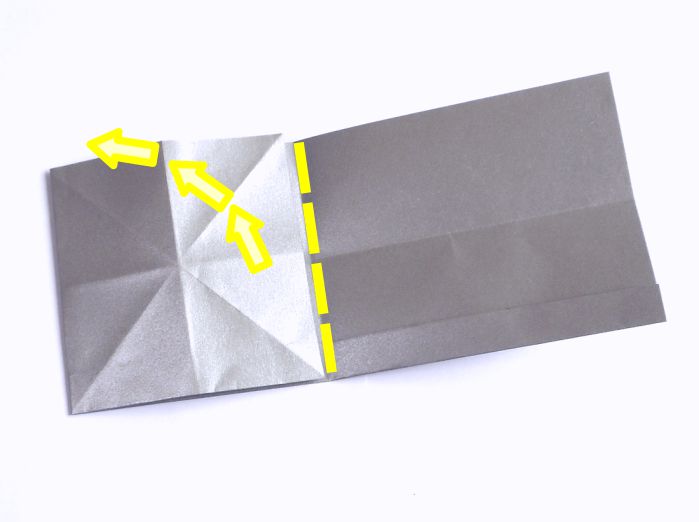
along the edge over the yellow line. Then pull the upper flap to the
left and fold over the prefolded yellow line.
Step 25:
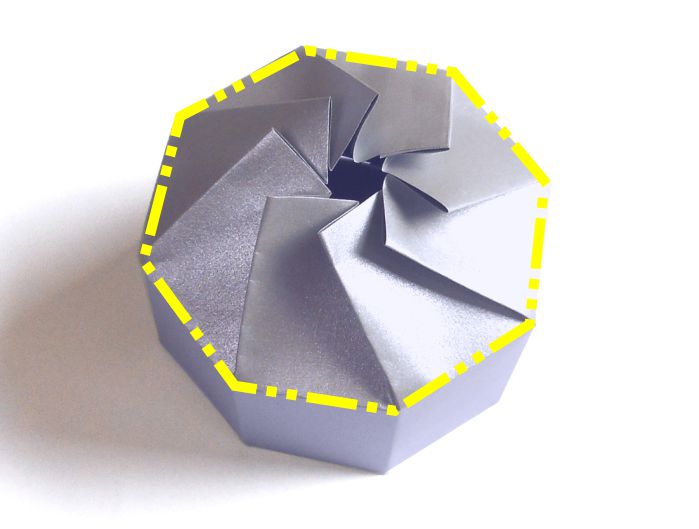
Done,
this is how the bottom looks.
Step 26:
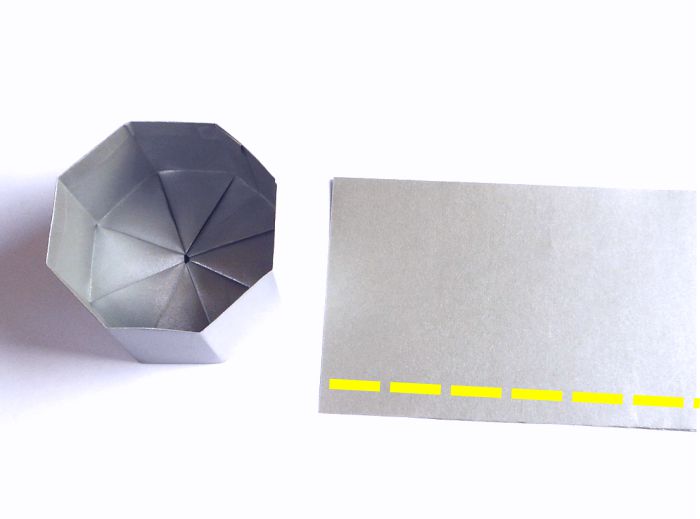
Use
the size of the kettle to fold the paper for the lid into the right
width.
Step 24:
Press
the bottom of the kettle flat
Step 23:
Fold
the other seven corners downwards.
Step 29:
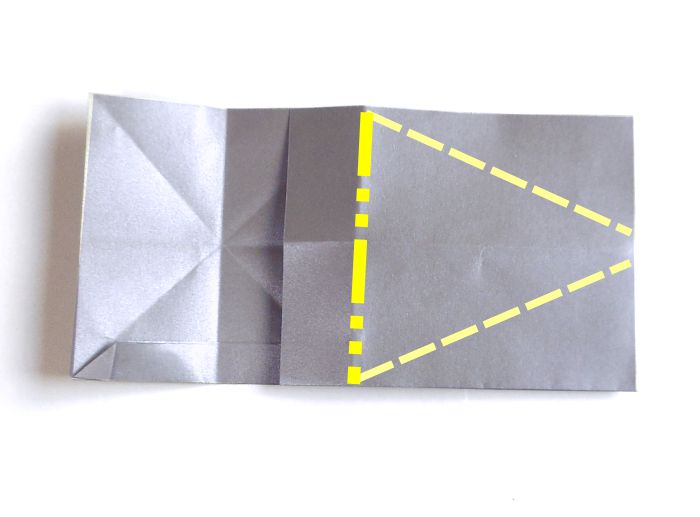
Fold
over these three lines.
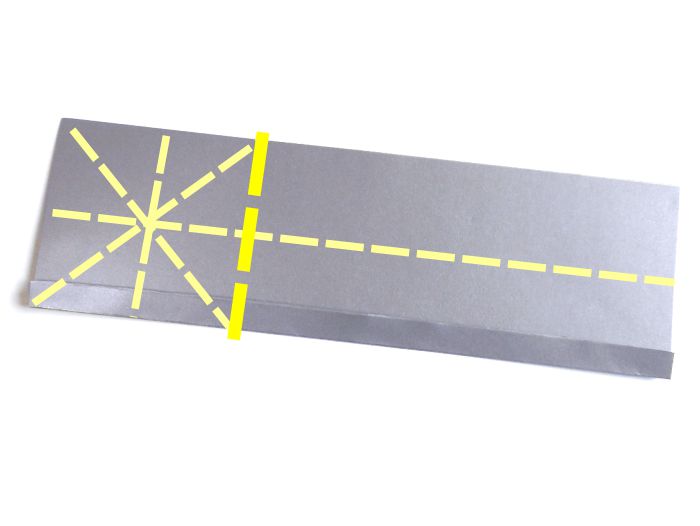
Step 27:
Prefold
over the four light yellow lines and fold over the thick yellow line
afterwards.
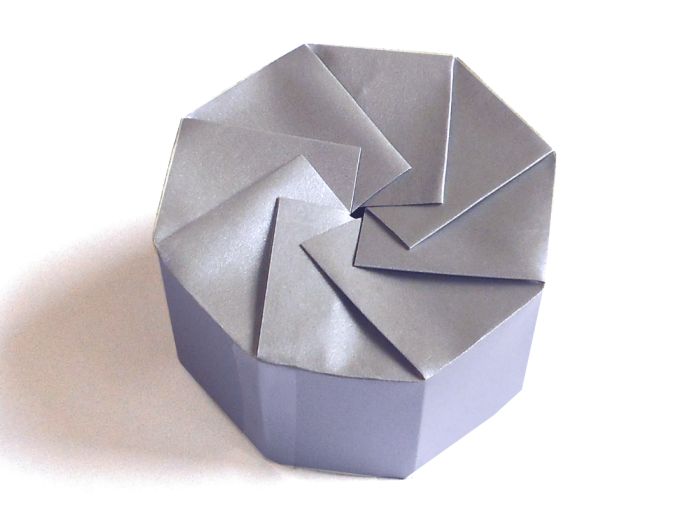
Step 30:
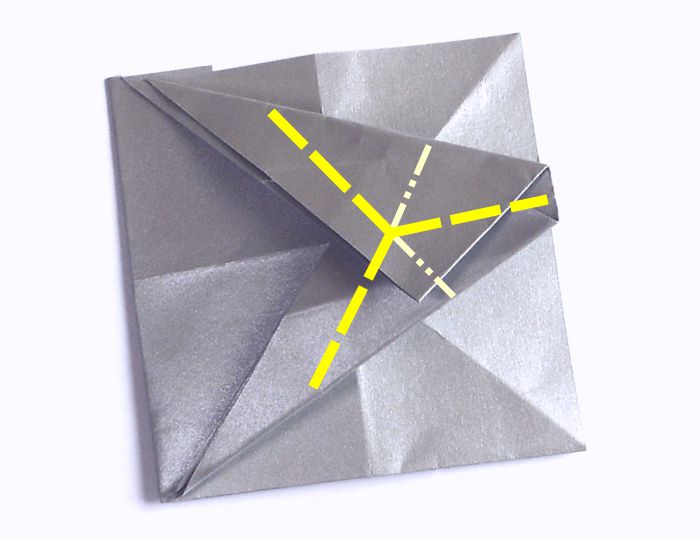
Make
a rabbit-ear fold.
Step 31:
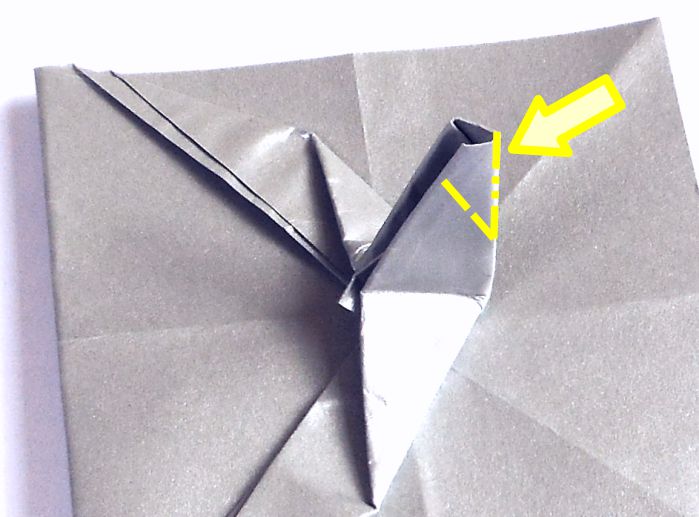
Squash-fold
the tip, see arrow
Step 32:
Fold
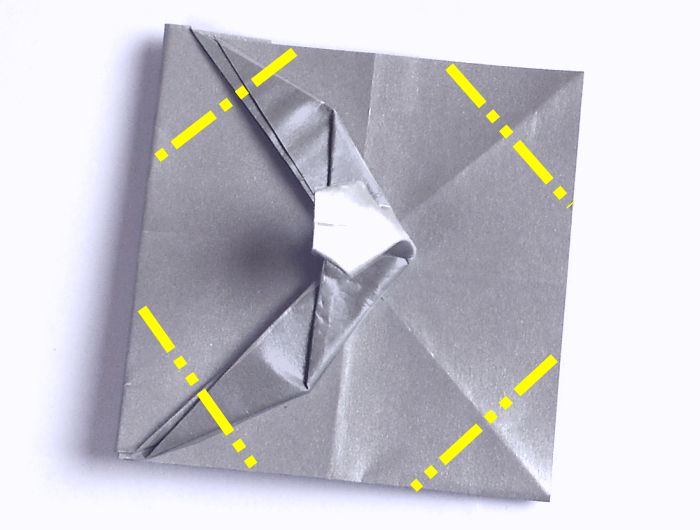
the lid into a shape with eight sides of the same lenght.
Step 33:
And
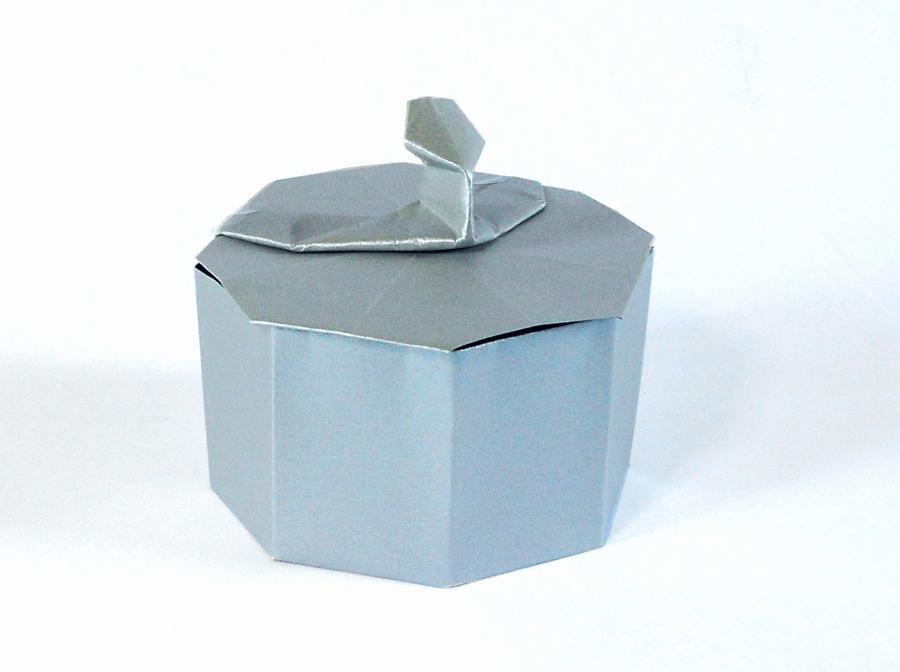
the kettle is also ready.
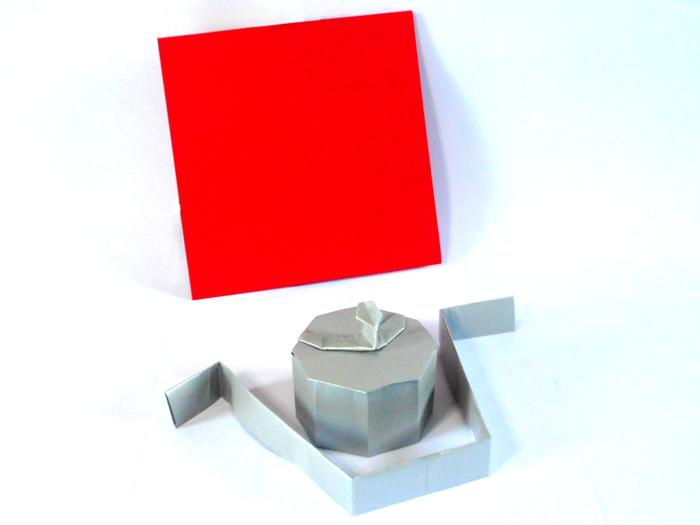
Step 35:
This
is how to kettle lays on the silver strip....
Step 34:
Prefold
and cut a silver colored a4-paper into half, see step 17 as example.
Then glue both pieces together into a long strip. Fold this strip in
half over the length 2 or 3 times.
Fold the silver strip around the kettle and glue it to the bottom of
the lid. If the strip is to long, you can just cut off the useless
part.