Home
- Gallery
- Contact
- My Origami
- Videos -
Privacy Policy
Origami Pumpkin folding
This is how to fold a beautiful (and lifesize) Origami pumpkin.


Step 1:
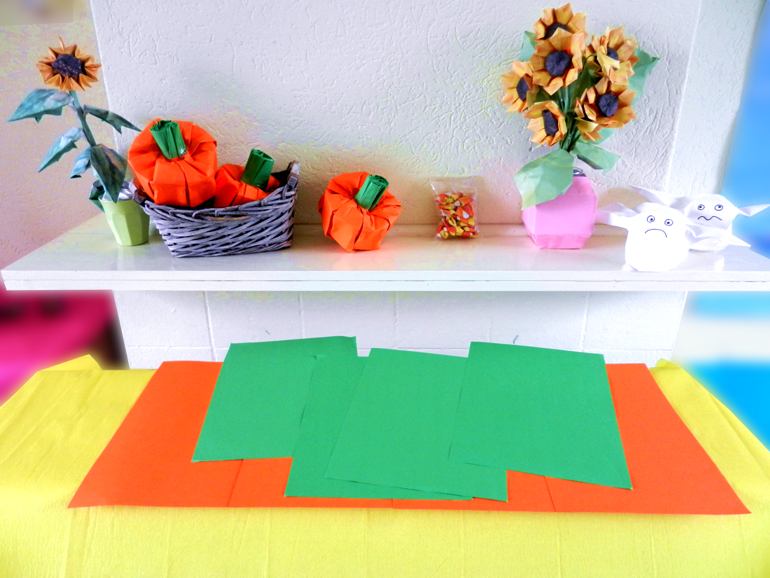
This
large paper is made of four green a4-size papers taped to four
orange colored papers. Mountain-fold over the yellow line.


Step 6:
Fold
the edges to the centerline.
Then unfold the folds of steps 4 to 6
Step 5:
Fold
the edges to the centerline.
Step 2:
This
is the other side of the paper.
Mountain-fold over the yellow line.
Step 4:
This
is the green side of the model.
First prefold in half, then fold the edges to the centerline.

Step 3:
Fold
over these two lines, all three parts are the same size.
Then unfold the folds of step 2 and 3

Step 10:
Tape
or glue the edges together, see green area.
Then tape/glue the end on the left to the end on the right.


Step 8:
Mountain-fold
over the two prefolded lines and valley-fold over the two outer
lines.
Do the same on the seven other same places, see arrows.
Step 9:
Turn
the model
Step 7:
Mountain-fold
all prefolded lines into one direction.

Step 16:
Fold
the edge inwards on about 8 spots
Step 15:
Press
the stem into the orange part. Wrap the top of the orange part
around the stem with your other hand.
Step 12:
Hold
the green part in one hand and press the model outwards with your
other hand. Do this by folding over the two yellow lines, they go
all around the model.
Step 11:
Press
the green part inwards.
Step 14:
Wrap
tape around the green part


Step 13:
Here
a part of step 12 is already done....


Step 17:
This
is a bottom view, the edge is folded inwards on three spots now.
A small opening is left in the bottom. When the model is damaged you
can press it into the right shape from the inside.

The
bottom should look like this.... Done!


This
DIY video also has instructions for folding the pumpkin:


