Home - Gallery
- Contact - My upper floor - Videos -
Privacy Policy
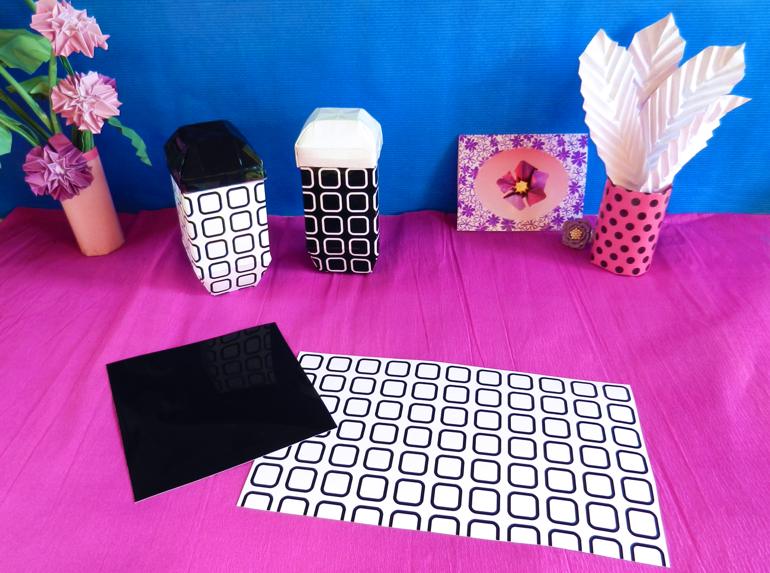
Origami Storage
Pot
This
is how to make useful storage pots of (thick) papers.

Step 1:
The
large rectangular paper is made of two squares taped / glued together.


Step 6:
Fold
over these four lines, use the prefolded lines as guidance.
Step 5:
Repeat
steps 3 and 4 in this direction.
Step 2:
Prefold
in half over these two lines.
Step 4:
Fold
the edges to the centerline.
Then, unfold the model.

Step 3:
Fold
the edges to the centerline

Step 10:
Turn
the model.


Step 8:
Prefold
over these four lines, use the prefolded lines as guidance.
Step 9:
Fold
the four corners upwards, glue or tape the flaps to the model.
Step 7:
Prefold
in half over these two lines.
Decorative
Origami Storage Pots

Step 16:
Fold
these two lines into the right direction.
Step 15:
Make
these folds along the edge of the black part.
Step 12:
Fold
the four flaps to the inside and the lid of the box is done......
Step 11:
Fold
the four corners inwards and the four edges straight downwards.
Step 14:
Use
the width of the lid as guidance to place this fold.


Step 13:
Fold
over these two lines.


Step 21:
Fold
/ press the edge on the right over the edge on the left.
Step 19:
Tape
or glue the four flaps to the model.
Step 20:
Here
one flap is taped to the model.
Step 18:
Fold
the four corners inwards
Step 17:
Prefold
over these two lines.


Step 22:
Repeat
step 21 three more times. And mountain-fold over the line on the left.

Step 23:
Tape
/ glue both edges together, see arrow.


Finally,
press the bottom flat.... Done!
This is a video with instructions for making the storage pots:


