Home
- Gallery
- Contact
- My Origami
- Videos -
Privacy Policy
Make
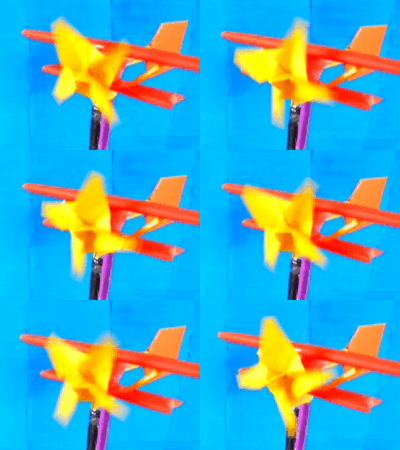
a paper Airplane Weather Vane
This is how to make a paper windmill with large
propeller

Step 1:
The
large papers are 6x6 inches and the small paper is 3x3 inches.


Step 6:
Press
the edges downwards.
Step 5:
Fold
over this line.
Step 2:
Prefold.
Step 4:
Prefold.

Step 3:
Valley-fold
over the two lines at the bottom right, mountain-fold over the two
diagonal lines and valley-fold over the two lines at the top left.

Step 10:
Repeat
step 9 with the other three flaps.


Step 8:
Bookfold
one layer to the left, the fold the flap upwards, do the same on the
backside.
Step 9:
Fold
the flap into an angle of 45 degrees
Step 7:
Repeat
steps 4 to 6 on the backside.
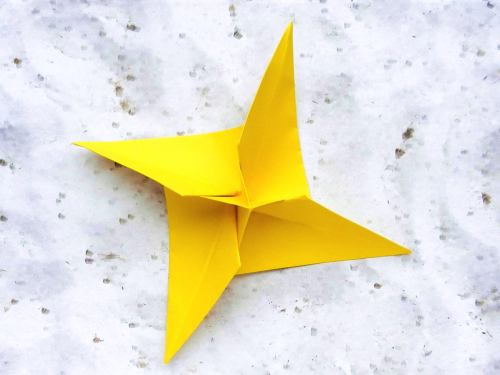
Paper airplane
windmill with yellow propeller

Step 16:
Two
sticks get a few extra folds, the blue bar indicates the centerline.
Step 15:
Make
6 of these sticks.
Step 12:
Start
with the folding line below.
Step 11:
Use
glue or tape to keep the propeller in the right shape.
Step 14:
Use
glue or tape.


Step 13:
Now
it's easier rolling up the paper.


Step 21:
Done.
Step 19:
This
is the small 3x3inch paper.
Fold in half three times.
Step 20:
Fold
in half.
Step 18:
Make
two pieces like this one.
Step 17:
Fold
over these two lines.


Step 22:
Fold
over this line.
Step 28:
Done......
Step 25:
Make
two of these tubes
Step 26:
Place
two papers on top of each other.

Step 24:
Use
glue or tape
Step 23:
Roll
up into a tube.


Step 29:
Glue
or tape two squares together.
Fold over these two lines
Step 27:
Fold
over these two lines
Ready!
This is a video tutorial for making the airplane windmill:

Step 30:
Prefold.
Step 31:
Fold
the corners inwards (make the same folds on the backside).
Step 32:
And
the tail wing is done too.....

Step 33:
Glue
or tape two squares together.
Fold over this line.
Step 35:
Fold
the edge inwards.

Step 34:
Glue
/ tape the upper edge a little above the lower edge (no folding!)


Step 36:
Fold
this edge inwards.
Repeat step 35 and 36 on the other side, see arrow.
Step 37:
Make
two wings.


Step 38:
The
lower wing gets a few extra folds. The blue bar indicates the
centerline of the wing.
Step 39:
This
is the lower wing.
Step 44:
Glue
the dark yellow piece around the stick and tube.
Step 41:
Glue
a stick into the back of the propeller
Step 40:
All
parts needed for the plane are done.....

Step 42:
Glue
the purple piece behind the propeller.


Step 43:
Done.....


Step 45:
Glue
two sticks to the back of the tube.
Step 46:
Glue
the tail wing around the sticks.

Step 47:
Glue
the lower wing to the model.


Step 48:
Glue
the two folded sticks to the lower wing.
Step 49:
Add
glue to these spots and glue the upper wing to the model


Step 50:
Slide
the three parts together


