
Home - Gallery - Contact - My
Origami
- Videos -
Privacy Policy
REFURBISH YOUR ORIGAMI FLOWERS
Yes, it's true even Origami flowers fade. Not as
quick as real flowers, a lot slower,
but they do fade after a few years.
My experience learned me that Origami flowers stay very well for a few
years
and reamain pretty well for about 4 years.
But after about 5 years the fading of the flowers really is visible.
So, this is my conclusion:
1 to 3 years code GREEN - 4 to 6 years code ORANGE - after 6 years
code RED
Is this reason to panic and even stop making paper flowers?
No, ofcourse not! Refurbishing Origami flowers is fun and doesn't take
loads of time
in most cases.
Origami Narcissus
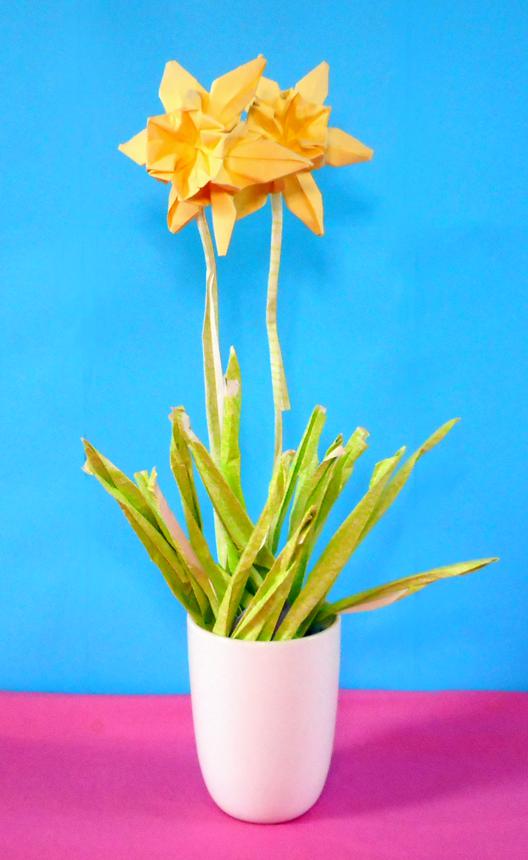
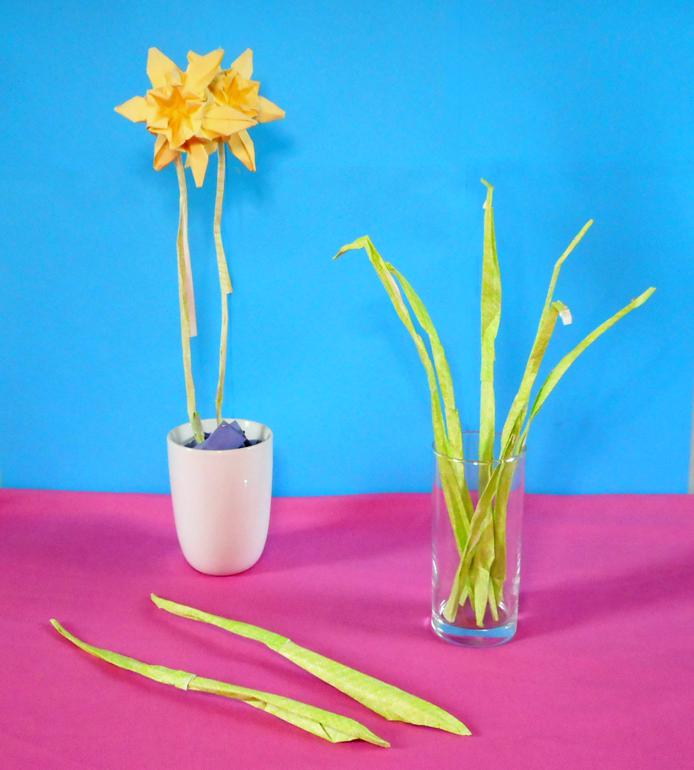
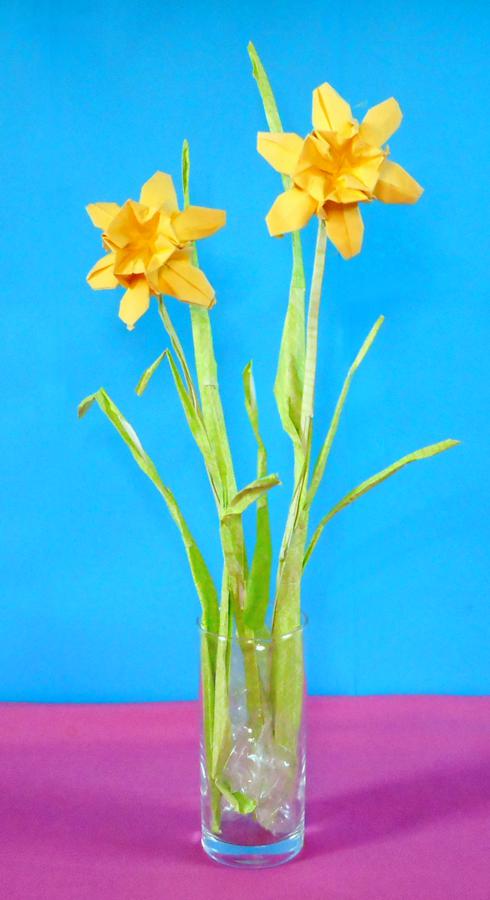
This Narcissus flowers arrangement looks a bit to pointy and I made
the original
leafs not long enough. The arrangement did look good when I made it,
but it's
looking a bit deadish after all those years. I made longer leafs by
glueing two short
ones together. And I made shorter flower petals by just folding each
tip backwards,
the result is more looking like real Narcissus flowers.
I blew all dust off the model and placed everything in a new clean and
shiny vase.
These simple adjustments made the Narcissus flowers more elegant and
realistic :)
Origami
Roses
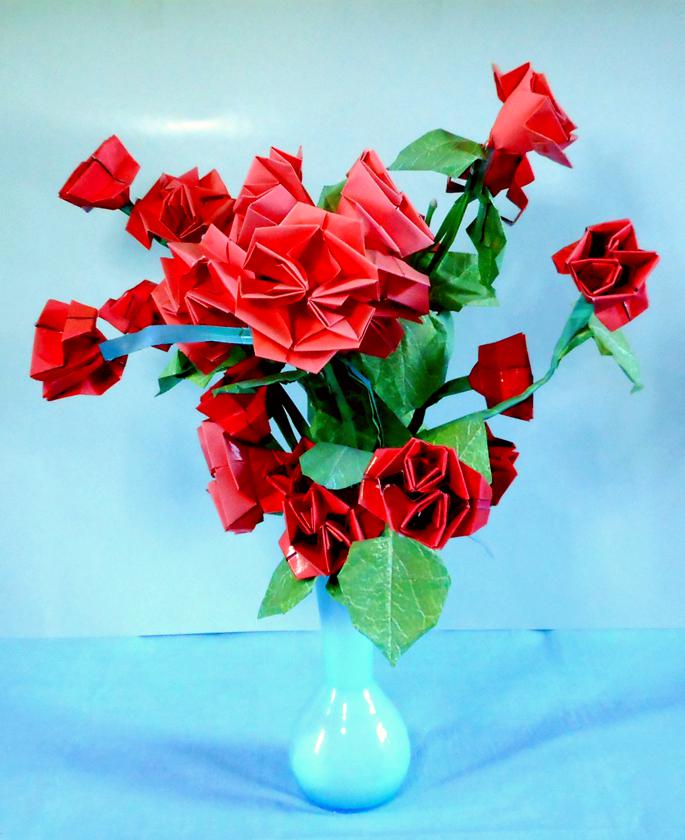
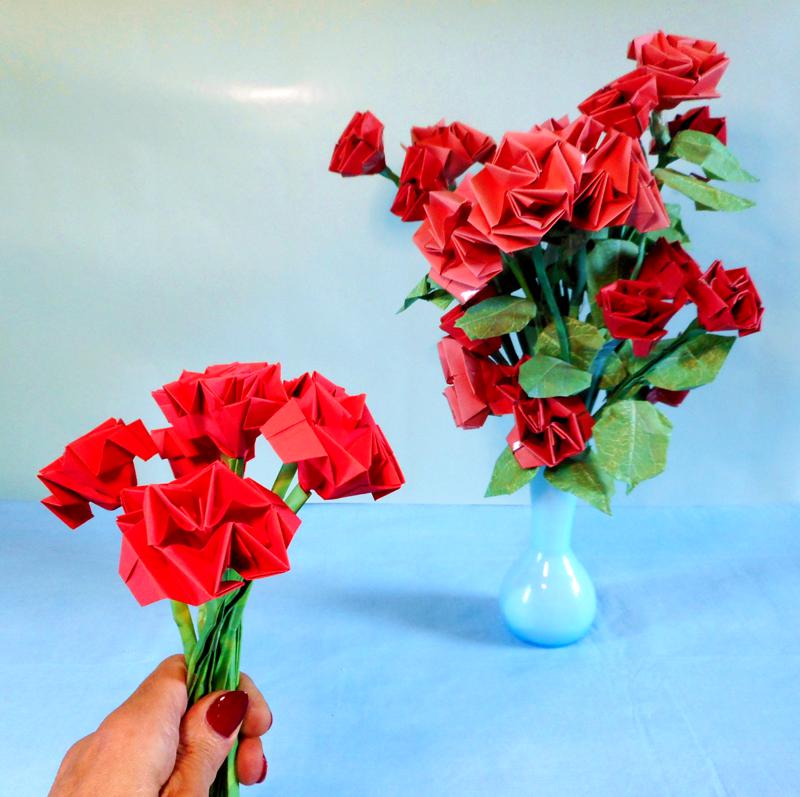
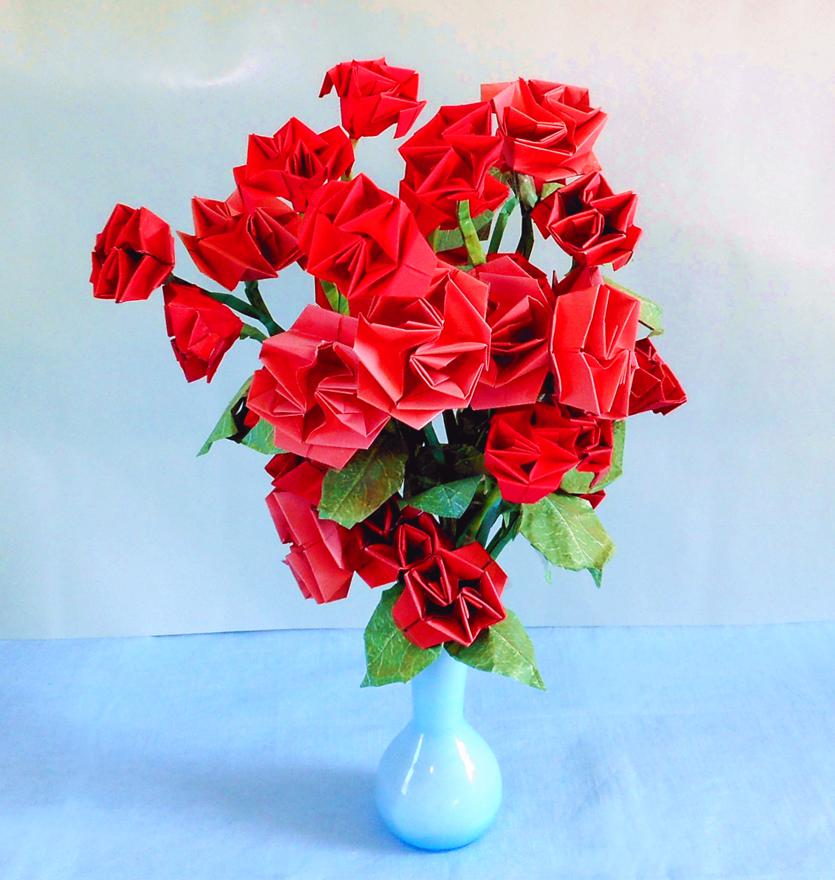
This vase with red Origami roses is looking a bit messy after all
those years. The leafs are hanging
downwards and some of the stems are also hanging downwards or fallen
sidewards. The colors are
still pretty fine, but the whole arrangement isn't as elegant as it
was when I made it.
I made sharper folding lines on the flowers and leafs first, then I
bended some of the stems back
upwards and made the leafs more visible, using glue on some of them.
Finally I added eight new fresh folded Roses to the arrangement, most
of them on the top left.
Now the bouquet is looking full and alive again!
Origami
Money Tree
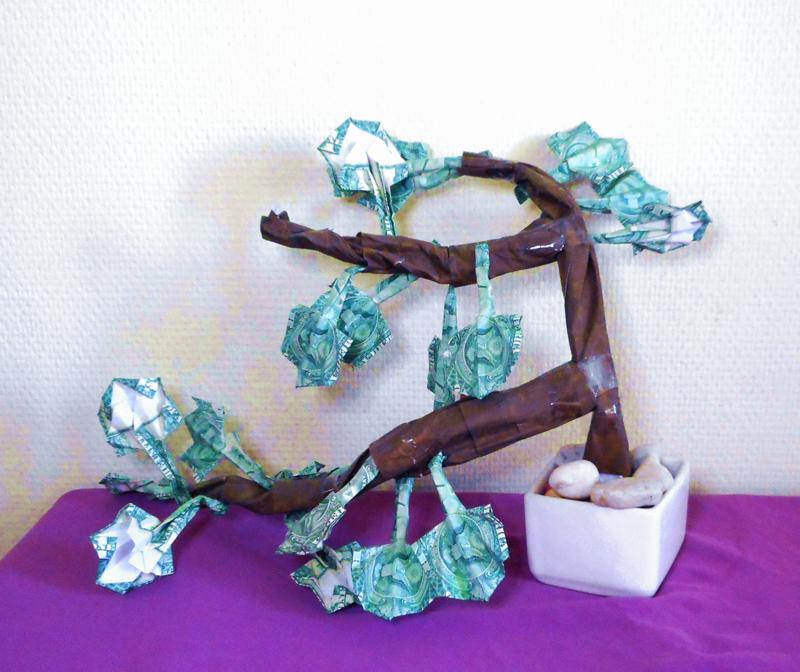
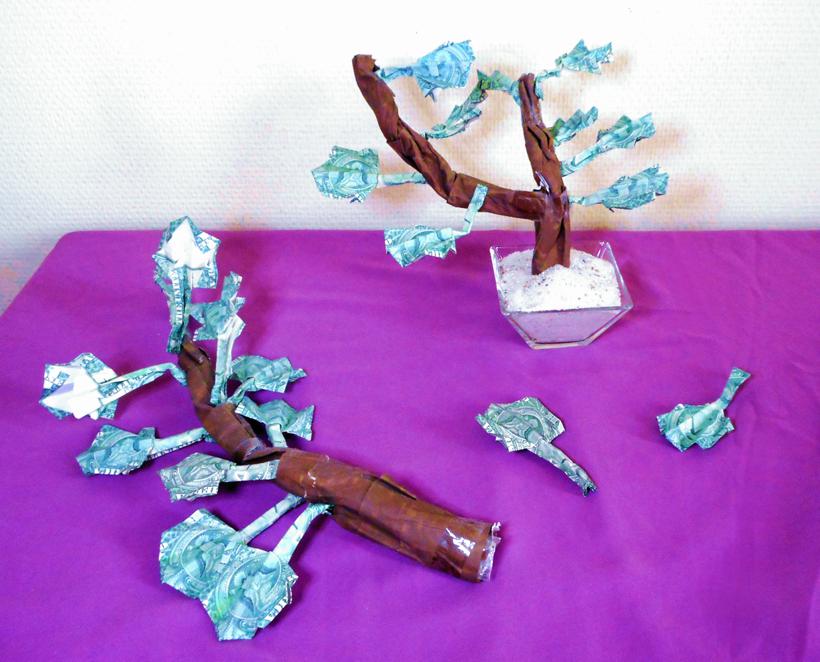
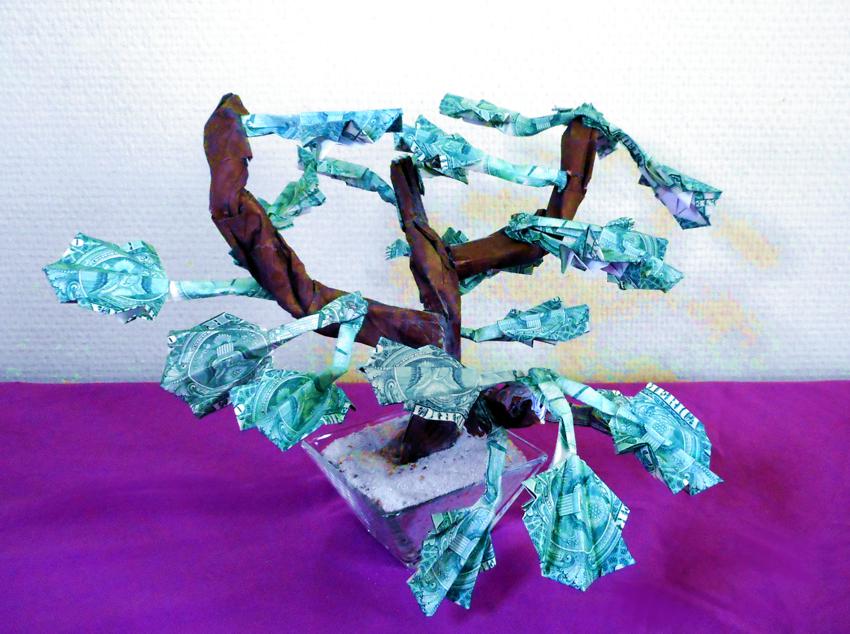
This is looking more than sad, everything's hanging downwards. A once
fierce money tree is now
one pile of nothing. First, I made the main stem shorter and placed it
in a new pot with decoration
sand. I made sharper folding lines on all leafs and bended them back
upwards.
I also made the lower branche shorter and glued it to the top right of
the tree, creating more
balance in the arrangement. The result is a smaller tree that looks
more fierce and Bonsai than the
original tree.
Origami Aloe Vera
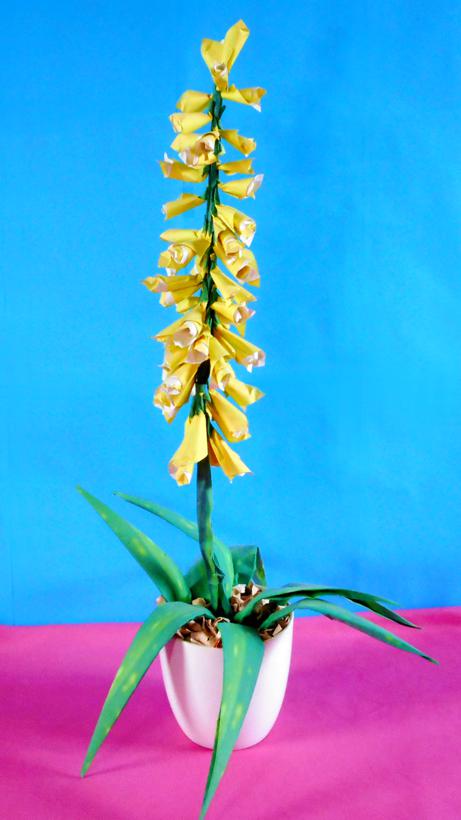
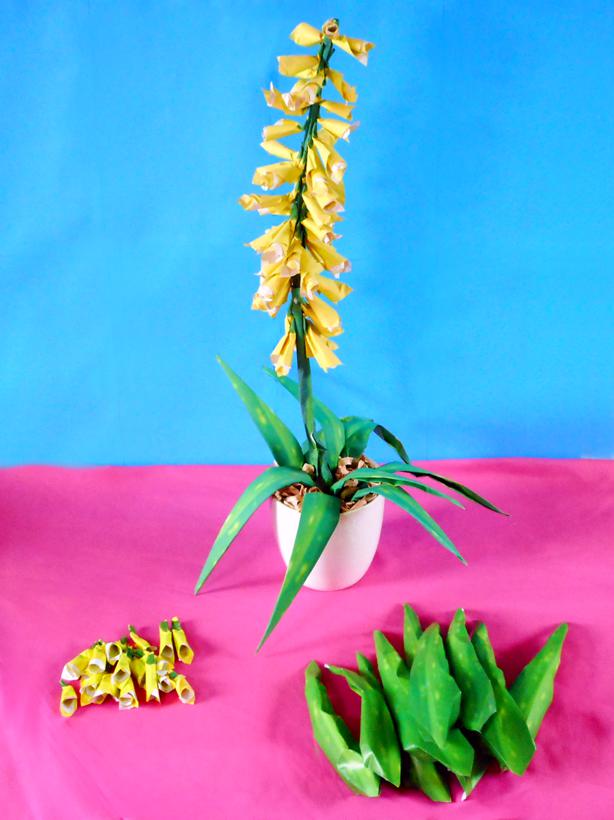
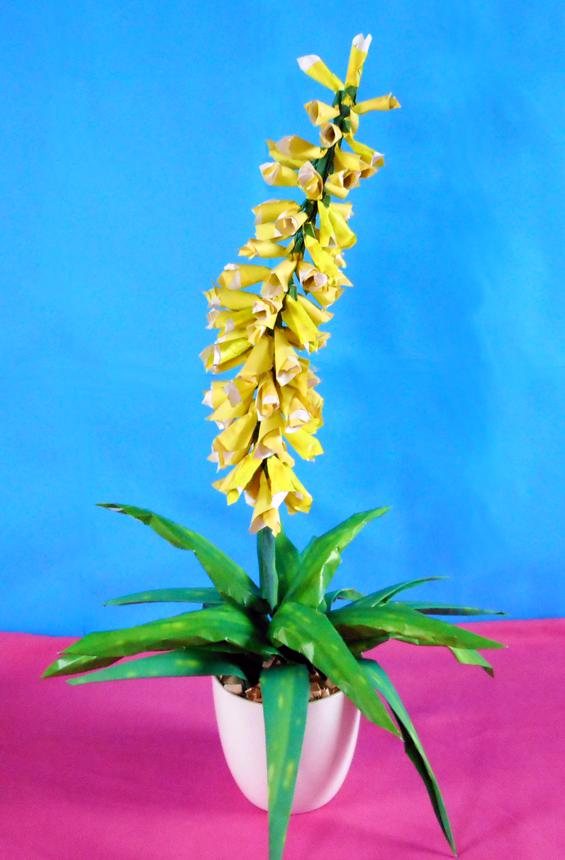
This Aloe Vera plant lost some flowers and leafs over the years....
First, I removed all dust
and curved the main stem a little more. I replaced the lost flowers
with fresh new ones
making the yellow bunch nice and full again. I kept the old leafs as
they are and just added
about 10 new ones on top of them.
After a little work the Aloe Vera is looking better than it ever was
:)
Origami
Puff Flowers
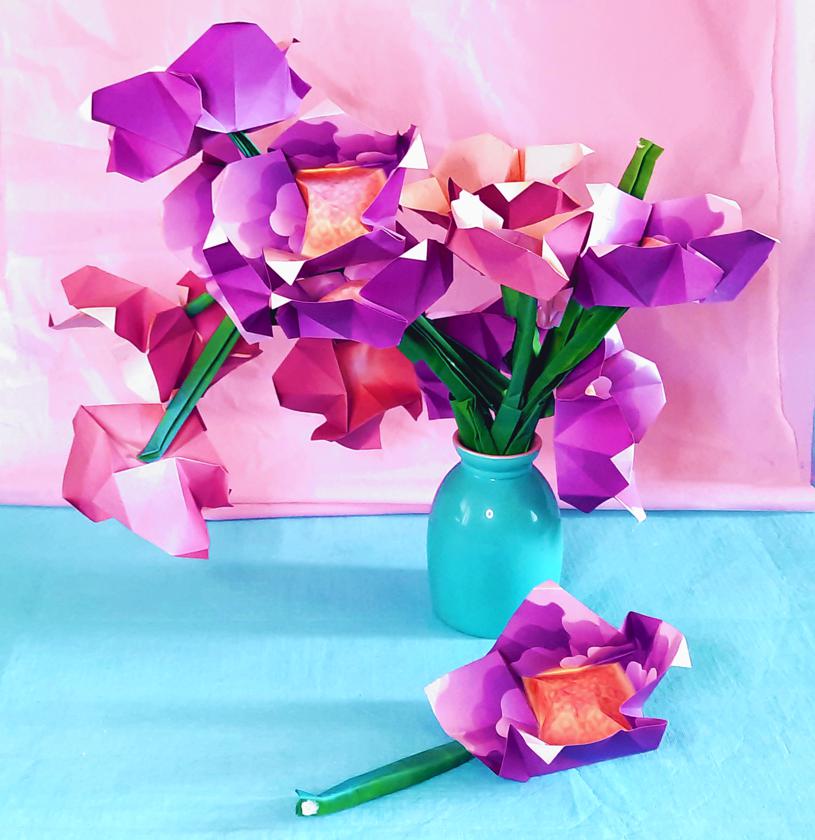
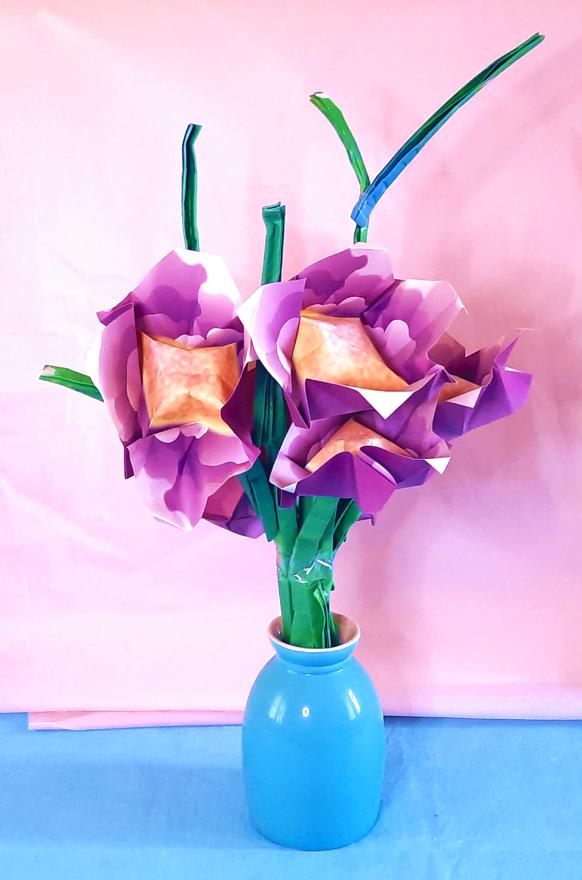
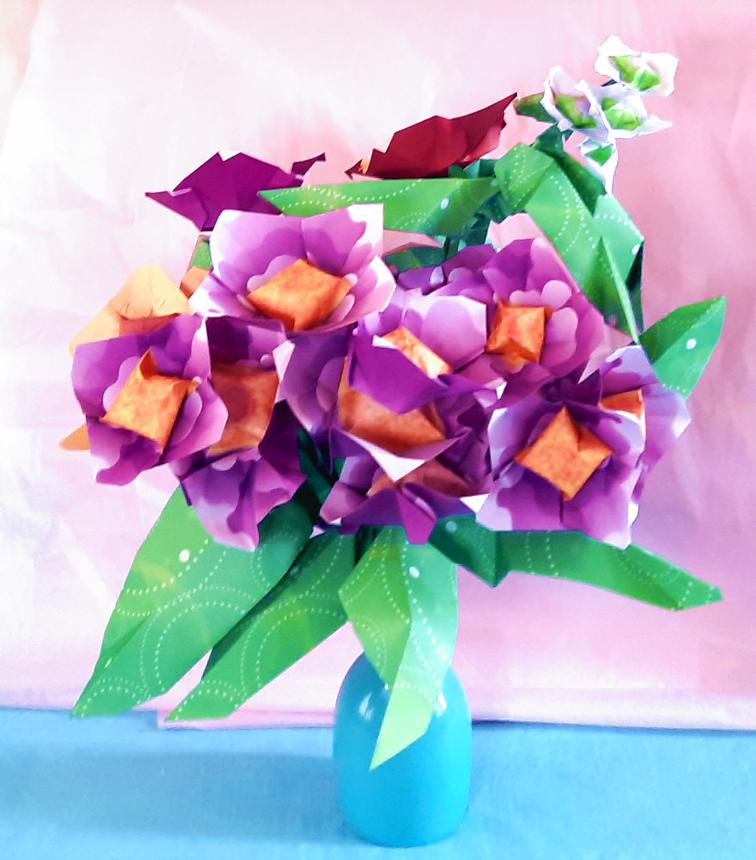
This bouquet pink (puffy) flowers has gone pretty bad after a
few years of sunlight,
flowers have fallen off the stems and some of the stems are
bended downwards.
First, I removed the most faded flowers and bended the stems
back upwards again.
I tied the lower parts of the stems together for more
enhancement.
Then I added about 15 fresh new pink flowers and a few smaller
whites for variation.
Finally I finished the bouquet with about 10 large leaves, the
bouquet didn't have
leaves at first.
Origami
Sunflower
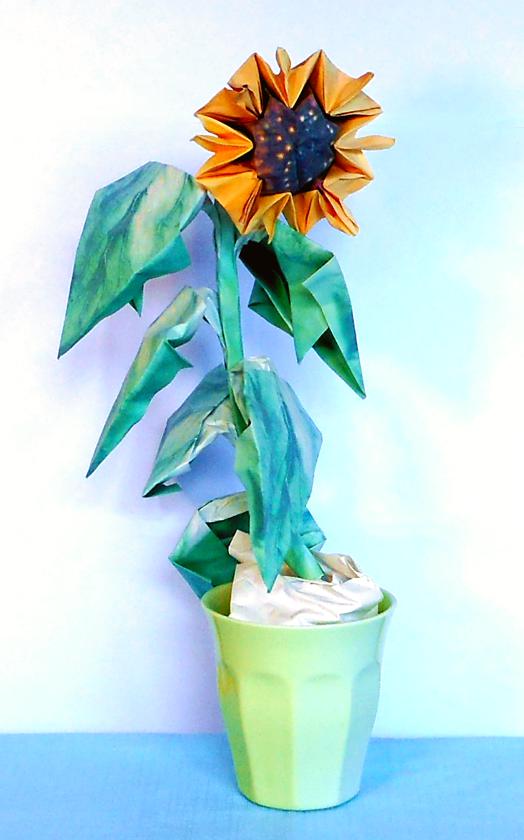
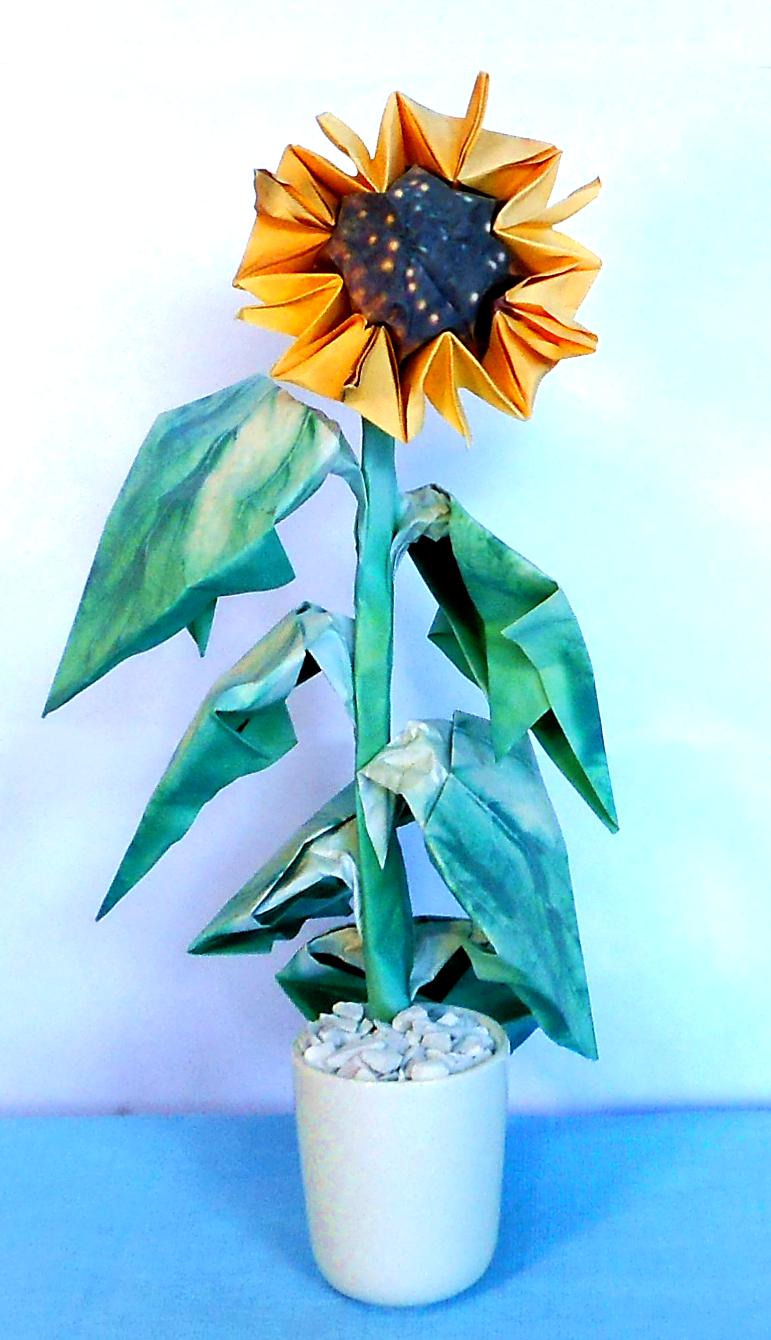
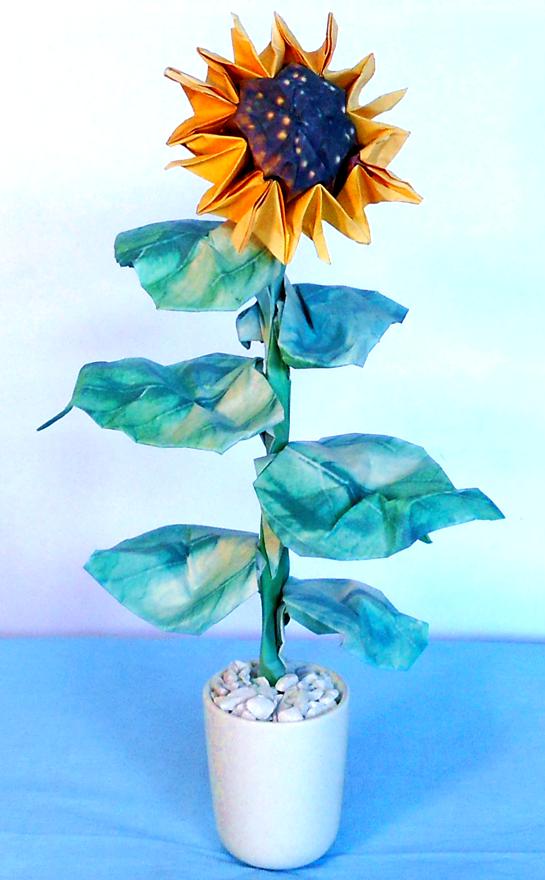
This Origami Sunflower looks totaly dried out, it sure needs some
water.
First, I straigtened the stem, looking more like a real sunflower
stem, and
placed it in a new pot. The old pot lost it's bright color in all
those years.
I used glue to lift the leafs back upwards and I made sharper folding
lines
on the flower. These few adjustments made it look fresh and alive
again!
Bonsai
Origami Flower Tree
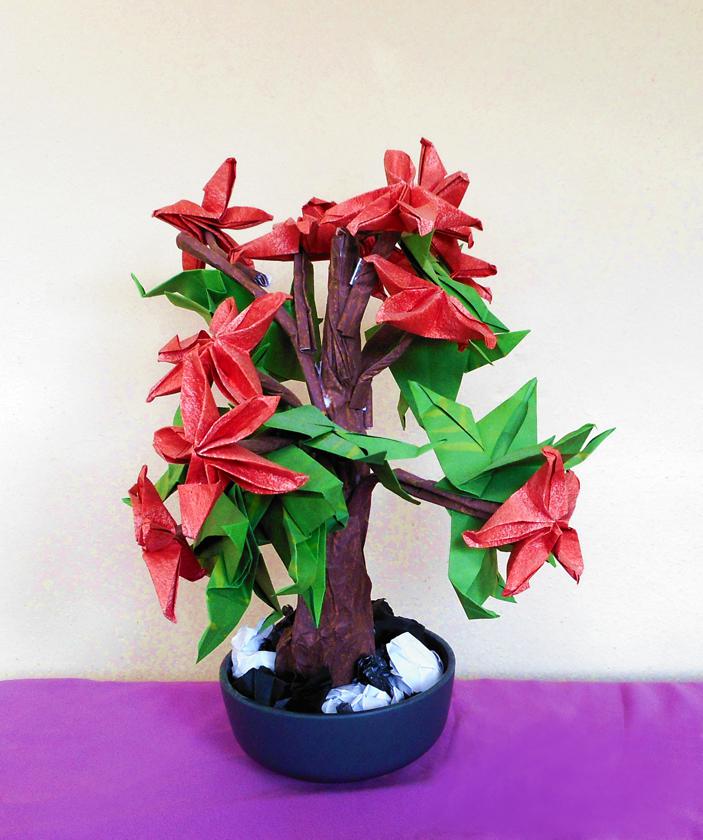
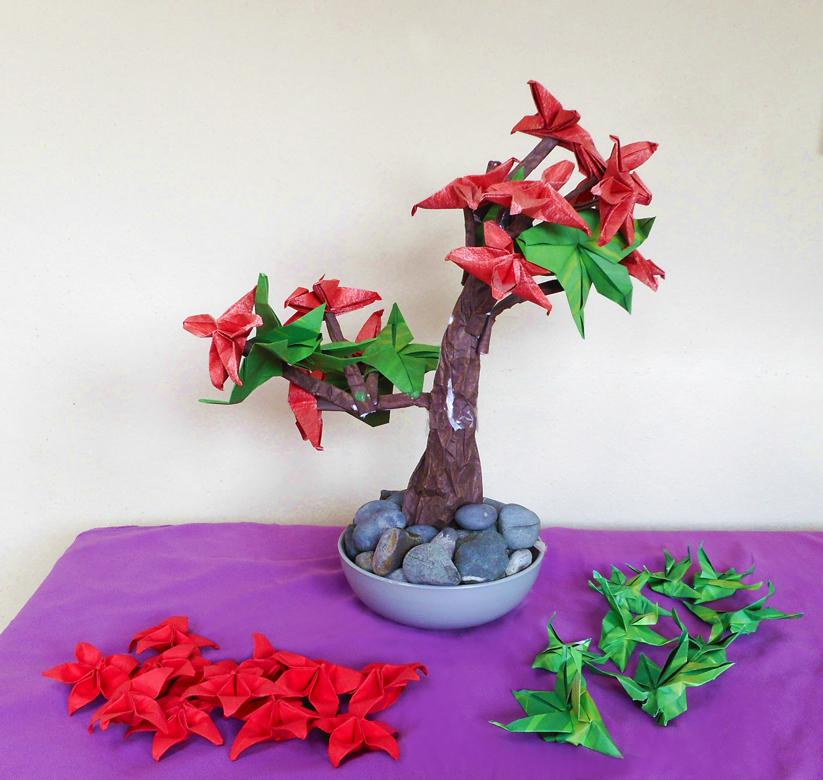
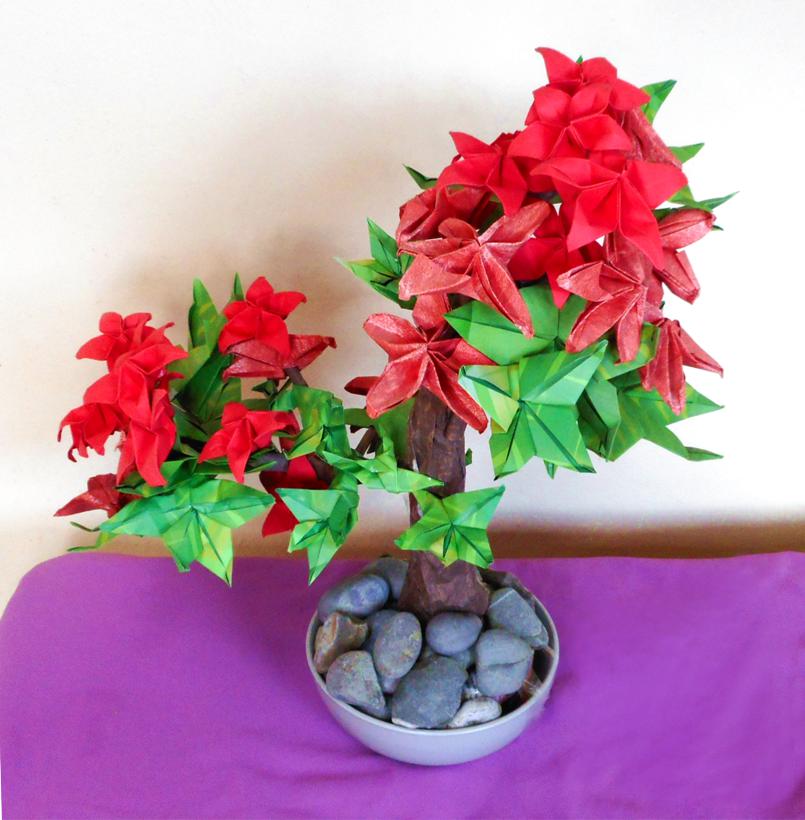
This once cute and elegant Bonsai tree reminds me of a willow tree
now.... It had one full cluster
of flowers and leafs, I devided it into two clusters now. First, I
devided the branches into two
seperate parts, without making new branches. I placed this new
arrangement in another pot filled
with real pebbles. Then I folded some new flowers and leafs and spread
them over the two clusters.
This small effort made me a brand new Bonsai Origami Tree :)
Origami
Hyacinth
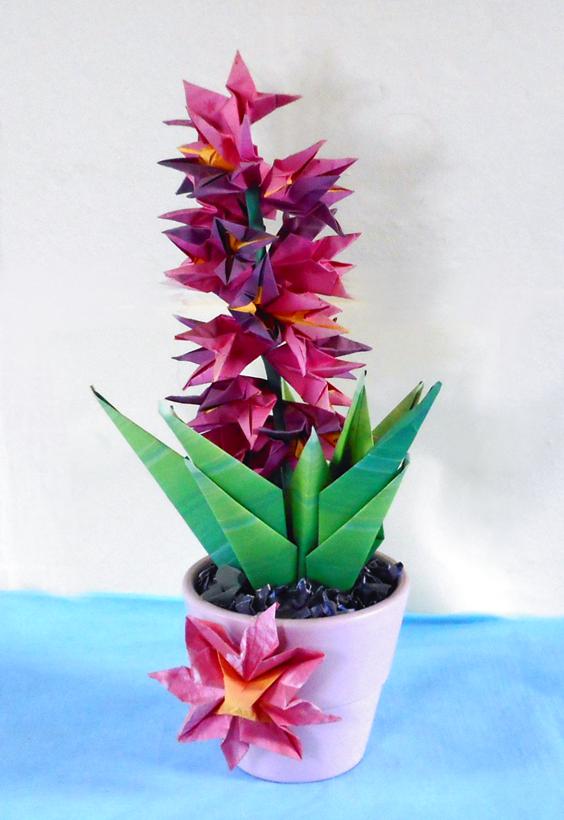
This Origami Hyacinth also has become very pointy after a few years.
The leafs
are made in a pointy Origami style, they're not changed ever since,
but the
Original flowers were much more curved in the beginning.
First, I looked a while at photos of real Hyacinths, to learn what
makes them
recognisable: The elegant flower cluster and the long leafs at the
bottom of the
stem.
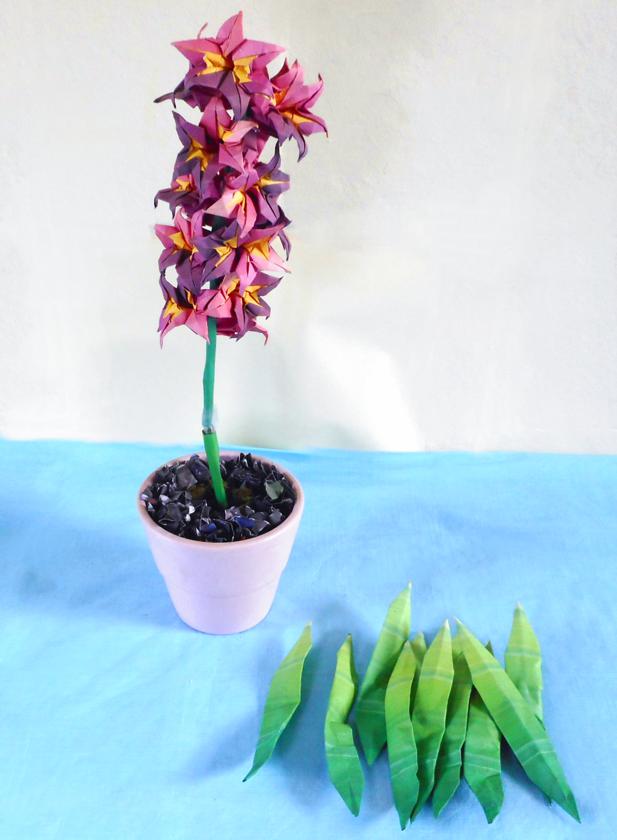
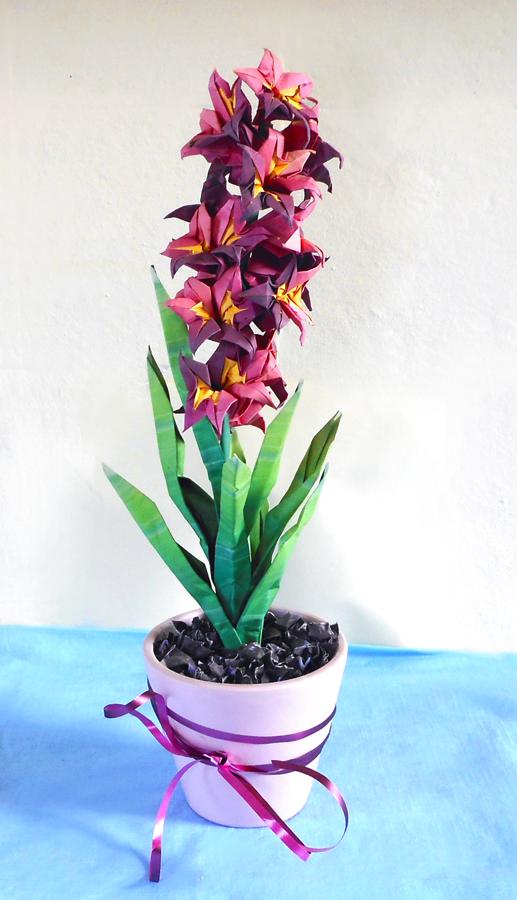
So, first I removed all leafs and curved all flowers. Then I folded
the original
leafs into thin and less edgy leafs. I kept the same pink pot but I
removed the
flower decoration and replaced it by a long purple ribbon.... Done!


